Volux.io — Volume · Light · Form
Learn to see light the way Rembrandt, Caravaggio, and Vermeer did.
Relight any portrait in 3D. Transform it into a master painting style.
Then learn exactly how and why it works.
We do not replicate or copy any artist's paintings. VOLUX teaches technique and transforms images into a representation of what they would look like if painted by the masters. For art education and reference only.
Go straight to what you came for.


Already a member? Open the app. On the iPad, add VOLUX to your Home Screen and it opens here.
One ordinary photograph.
Any light you choose.
Every picture on this page began as a free stock photograph. The VOLUX studio relit it, traced it, and the Pad painted over it. The light is computed on the picture’s own surface: not a filter, not a redraw.
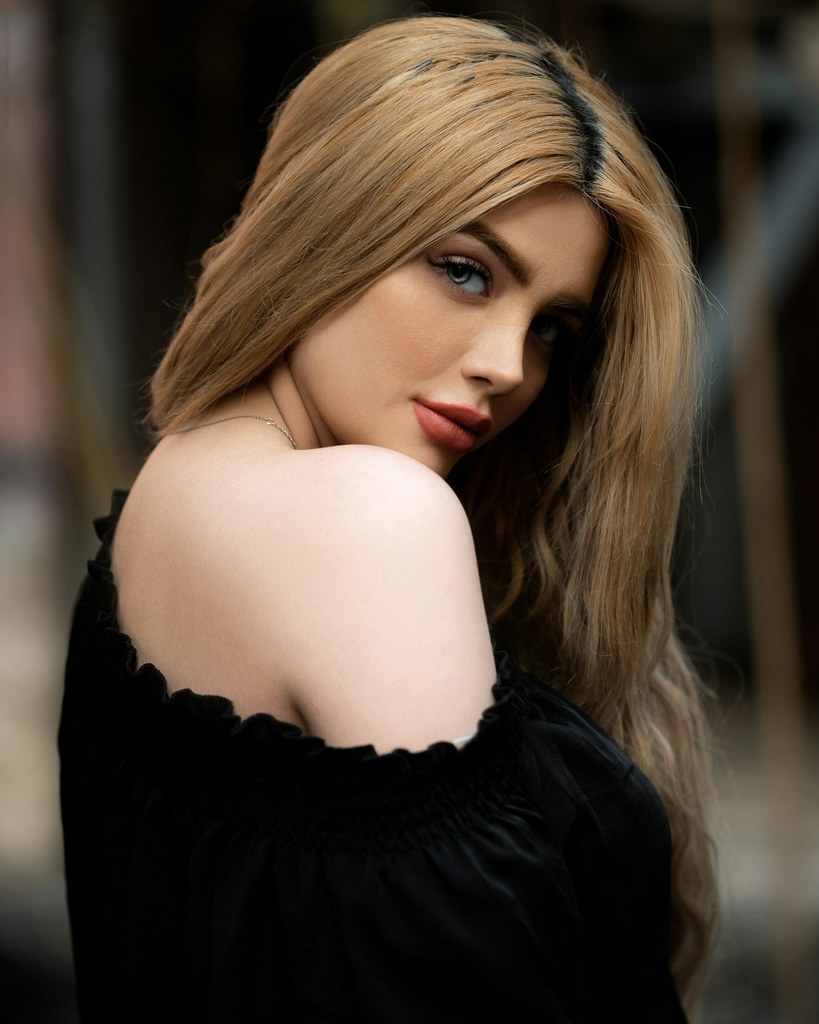
The starting picture: soft, even daylight, no lamp.
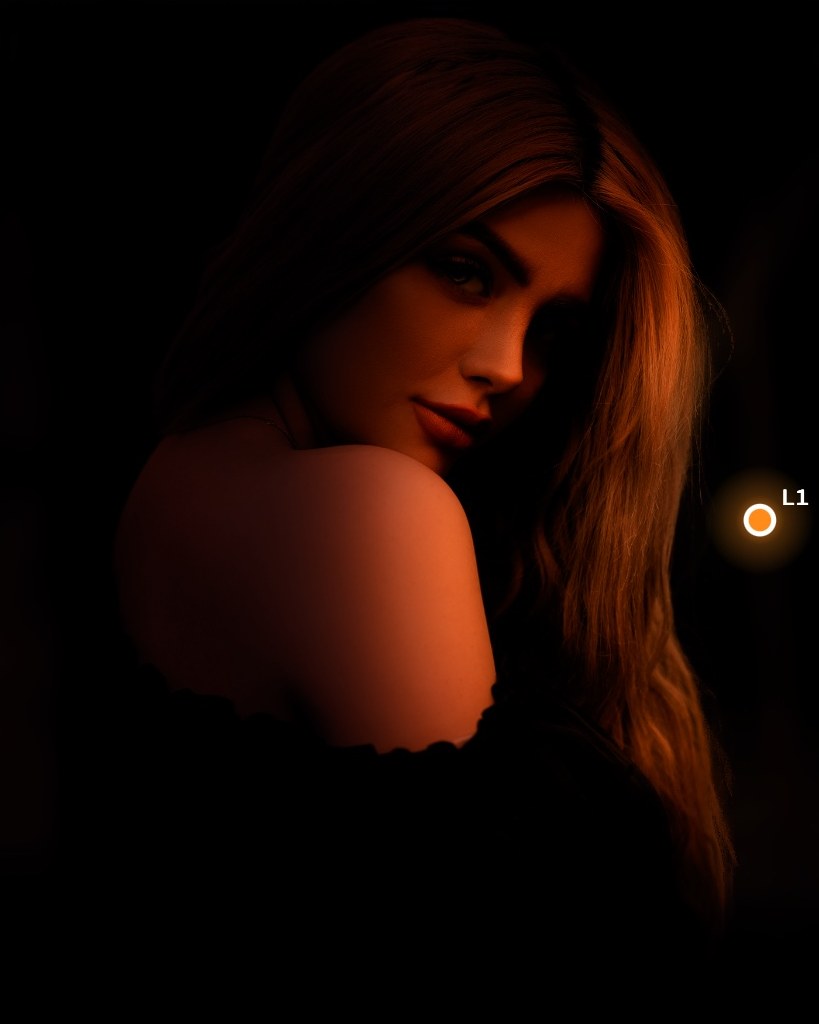
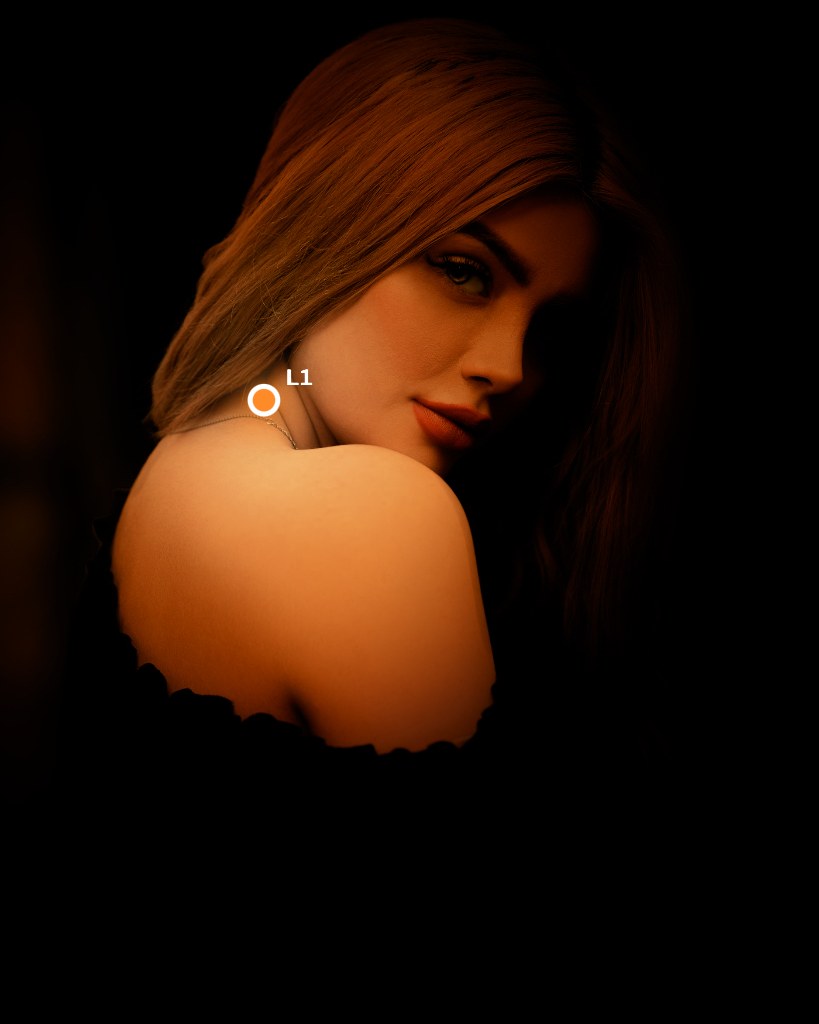
One orange lamp, hard and narrow (focus 0%), almost level with the shoulder. The side it reaches glows; the rest falls into the dark.
Place it: right of the sitter, level with the shoulder, close in.
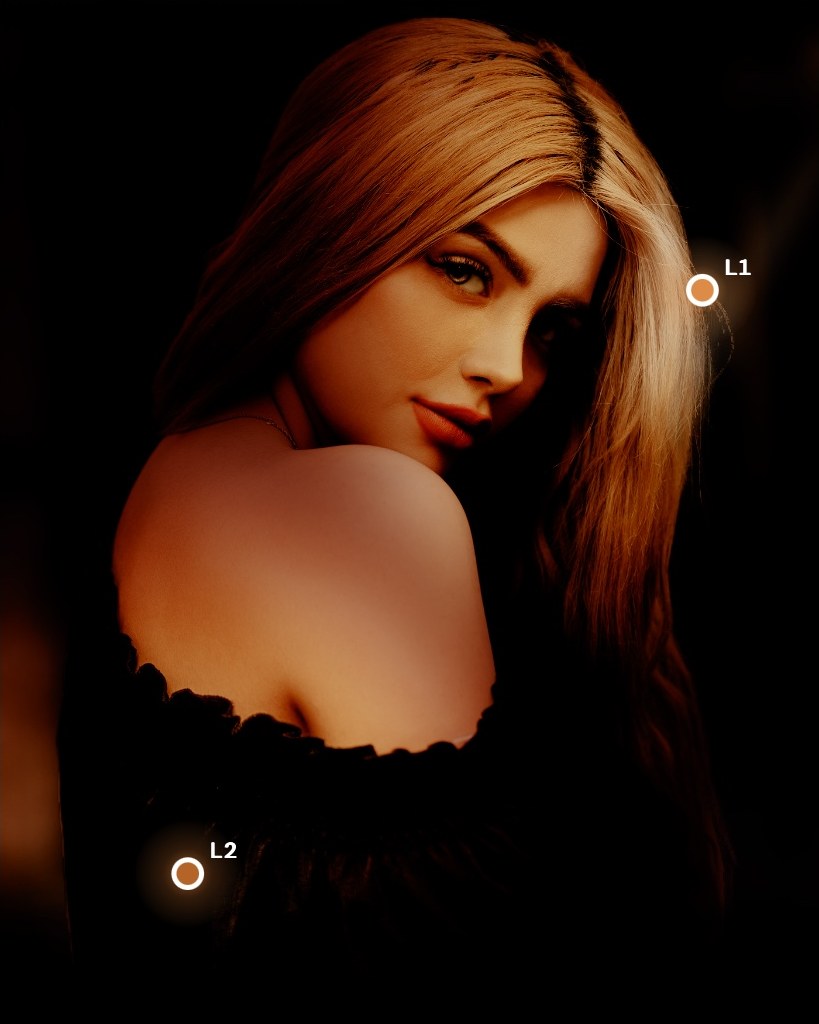
Two copper lamps. The high one on the right gilds the hair and the cheek; the low one on the left is a soft fill from below that lifts the shoulder.
Place it: one lamp high on the right, one low on the left.
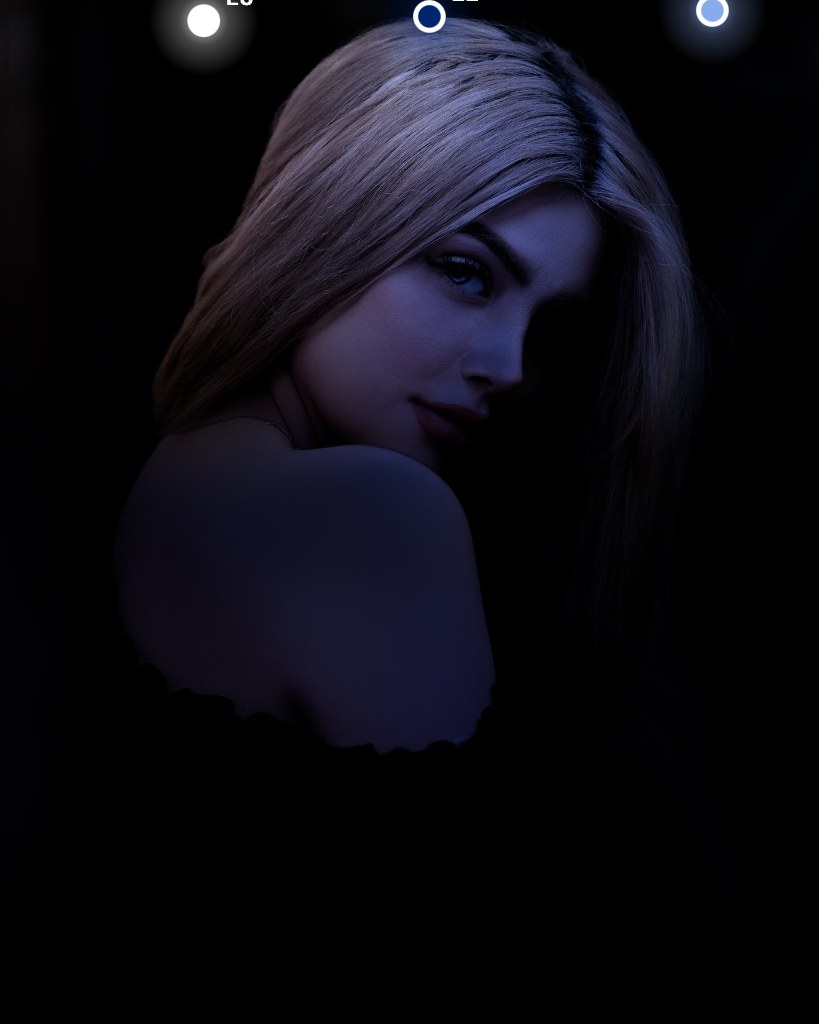
Three cold lamps from above: pale blue on the right, deep navy straight overhead, and a white one on the left with a tiny focus that only edges the hair. Dim, blue, quiet.
Place it: all three above the head; the white one slightly to the left.
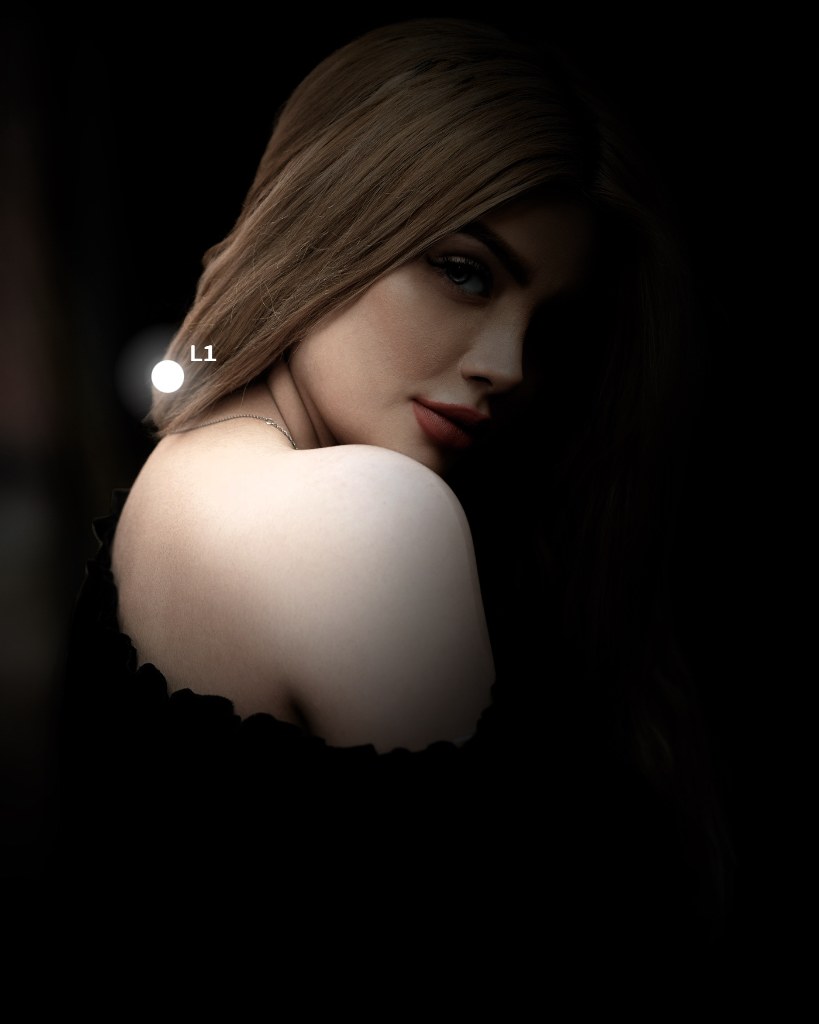
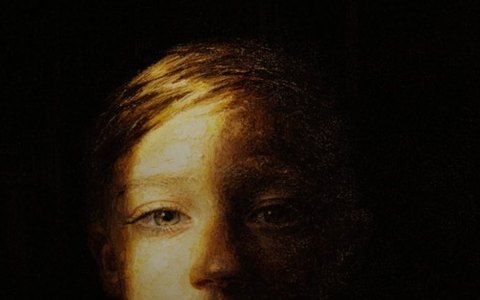
One white lamp from the left, just above eye level. Half the face is lit and half is dark, the classic split-light portrait.
Place it: left of the sitter, a little above the eyes.
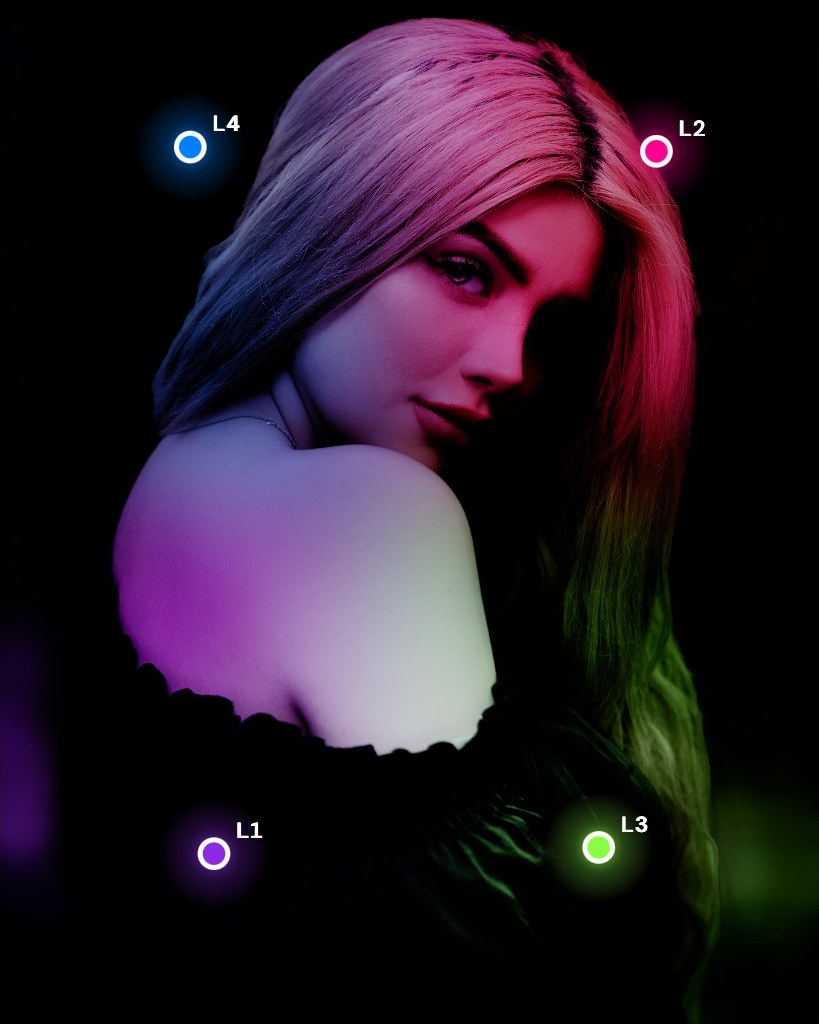
Four tight coloured lamps, one in each corner: blue and magenta from above, purple and green from below. Where two reach the same skin the colours mix.
Place it: one lamp in each corner of the picture, two above and two below.
The Candle type: a warm, flickering point of light placed close. The shoulder and cheek take it; everything beyond the flame goes dark.
Place it: upper left, close to the sitter, beside the neck.
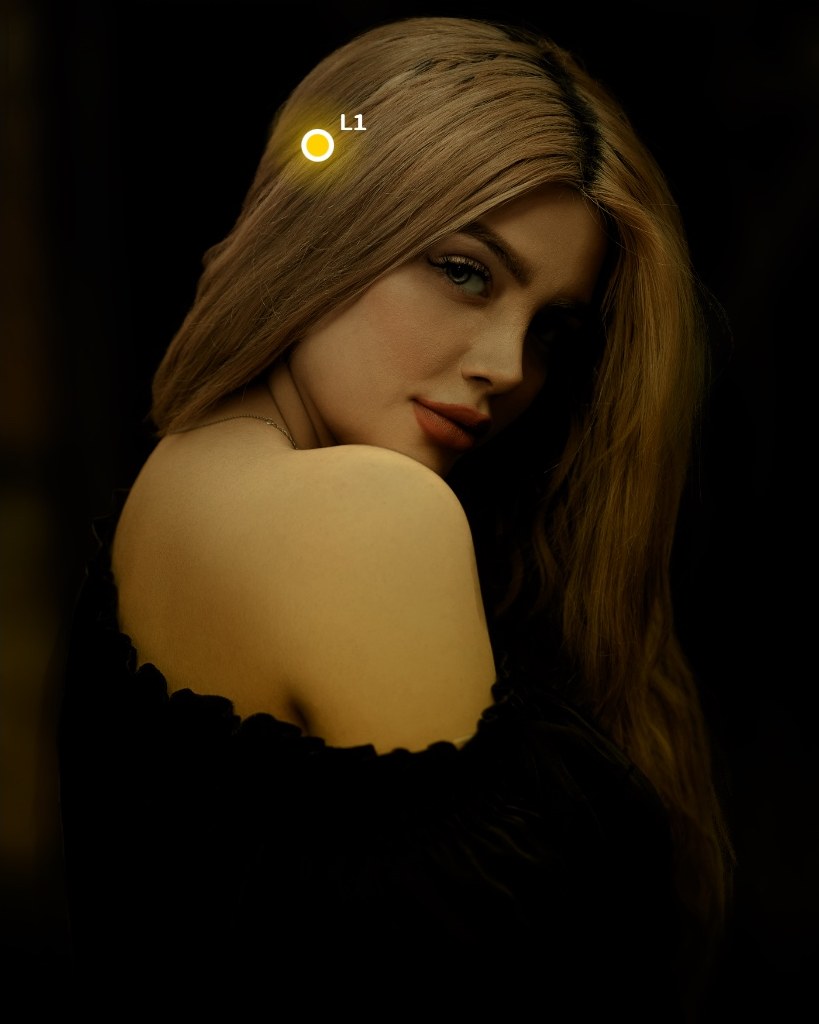
The Sodium type: a yellow street lamp. Set high and far away (distance 2.00) and soft, so it washes the whole picture in one amber colour.
Place it: high on the left, far from the sitter.
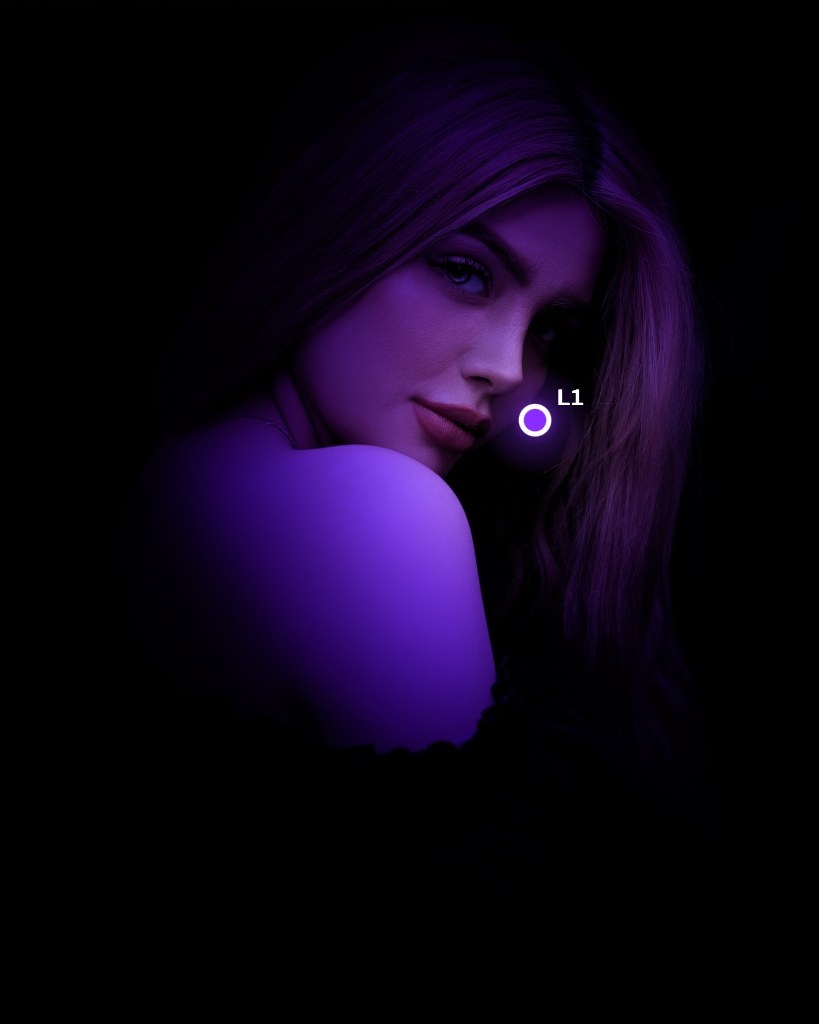
The UV type: a violet blacklight. Wide and mid-distance, it paints skin and shoulder purple and leaves the room black.
Place it: to the right of the face, just above the mouth.
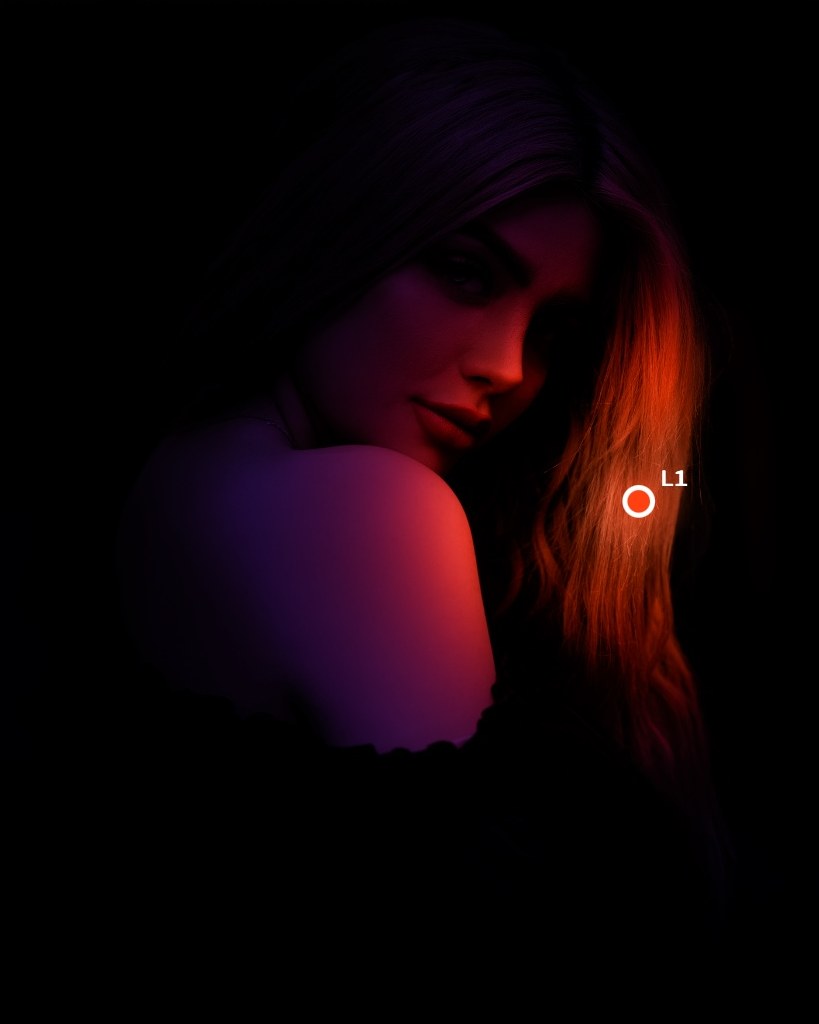
The Inferno type: a red fire that runs from orange through red to blue-purple. Set low on the side so it burns across the hair and cheek.
Place it: right of the sitter, level with the shoulder.
The numbers under each picture are the lamp as set in the studio. Copy them and you get the same picture on your own photograph. Azimuth (az) 0° is straight at the subject, and a larger azimuth moves the lamp to the image-left; elevation (el) moves it up or down; focus narrows the beam; distance is how far the lamp stands off; strength is its brightness.
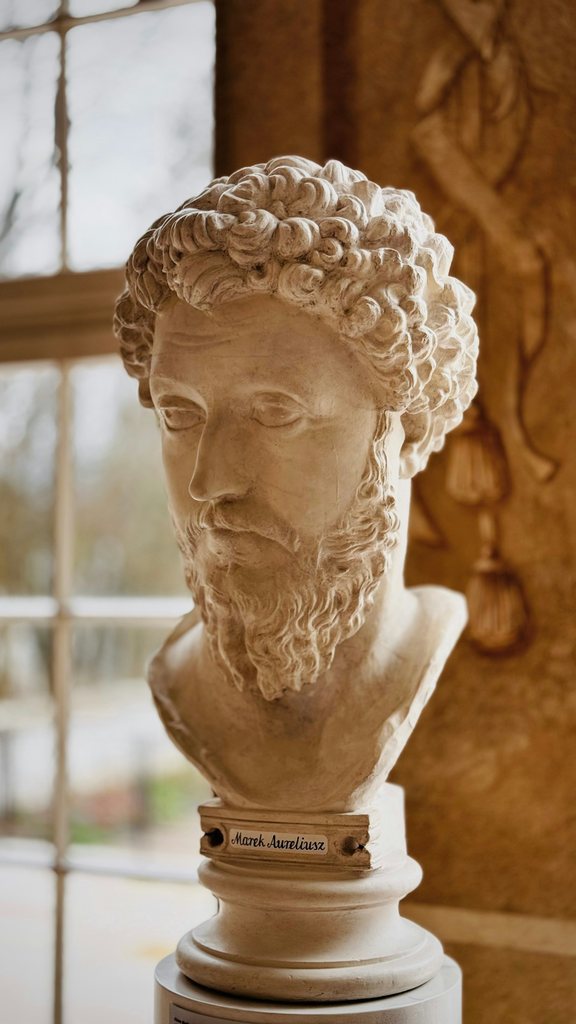
The starting picture: a plaster bust by a window.
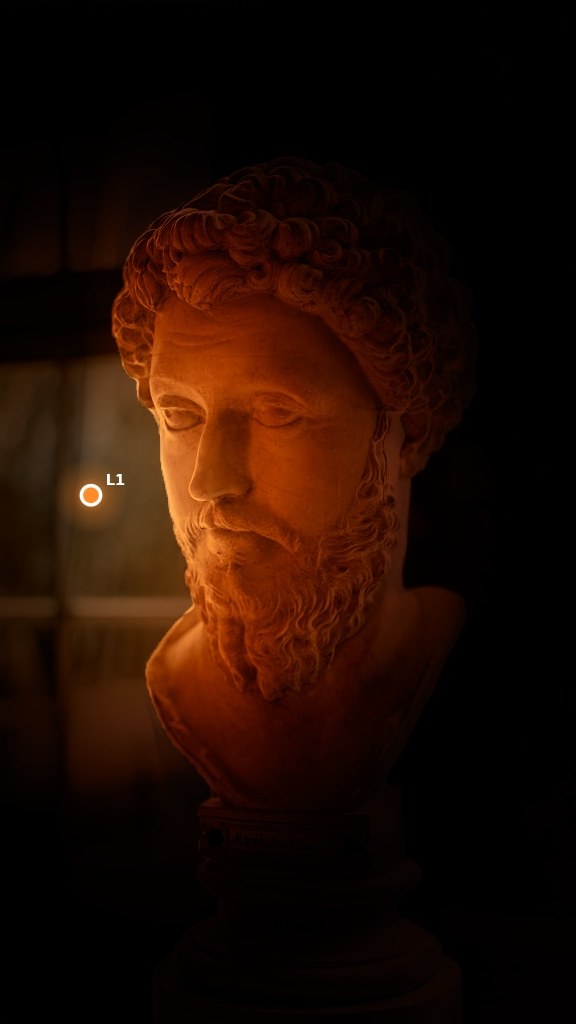
The Candle type from the left, level with the face and fairly wide (focus 66%): the beard and brow carve out of the dark.
Place it: left of the bust, level with the face.
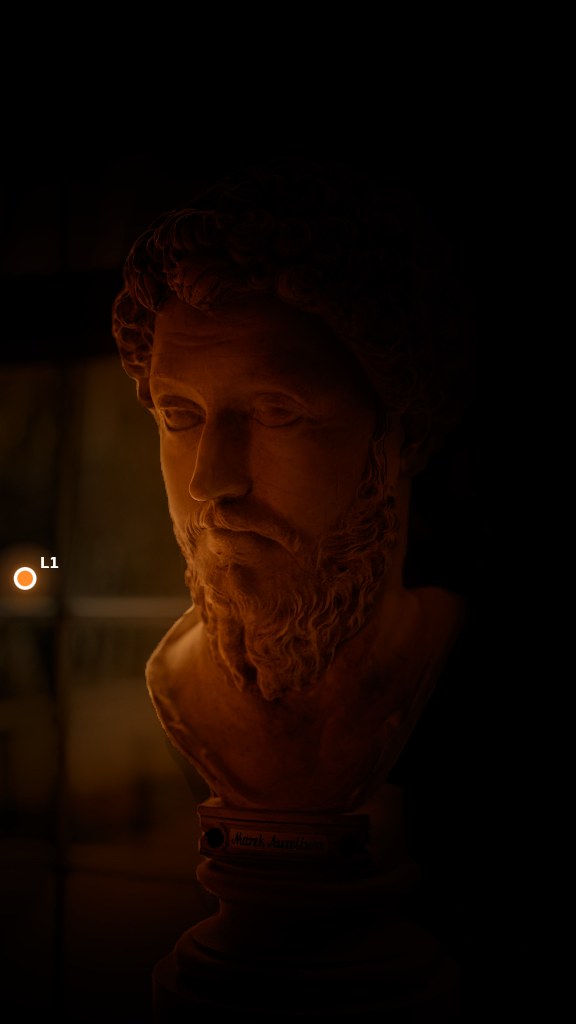
The same type turned down (strength 0.54) and pushed round to the side: only the edge of the face is touched.
Place it: far left, a little below the face.
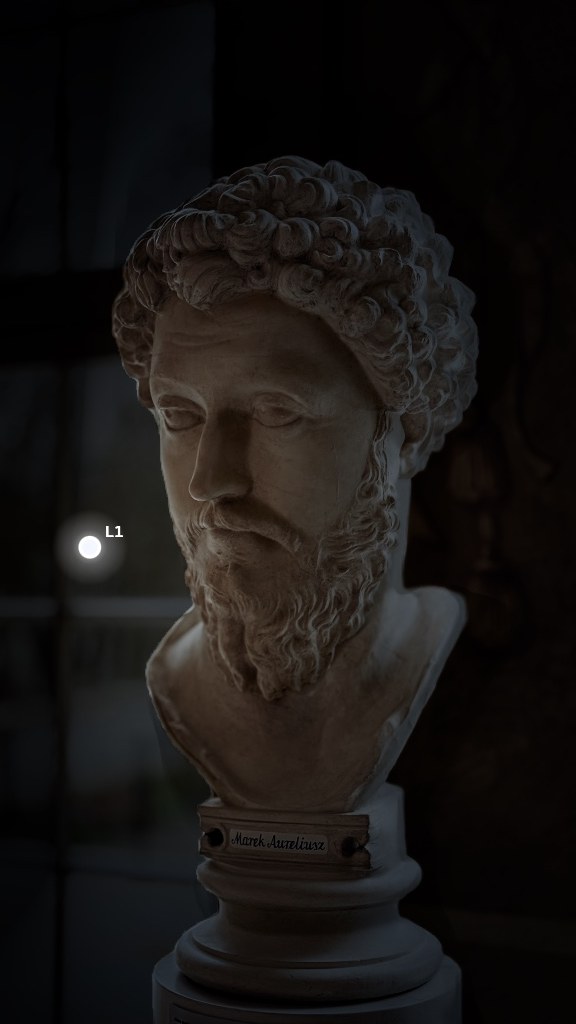
The LED type: a cool white panel. Wide (focus 68%), far (distance 1.36) and gentle: the neutral light of a museum case.
Place it: left of the bust, level with the face, standing back.
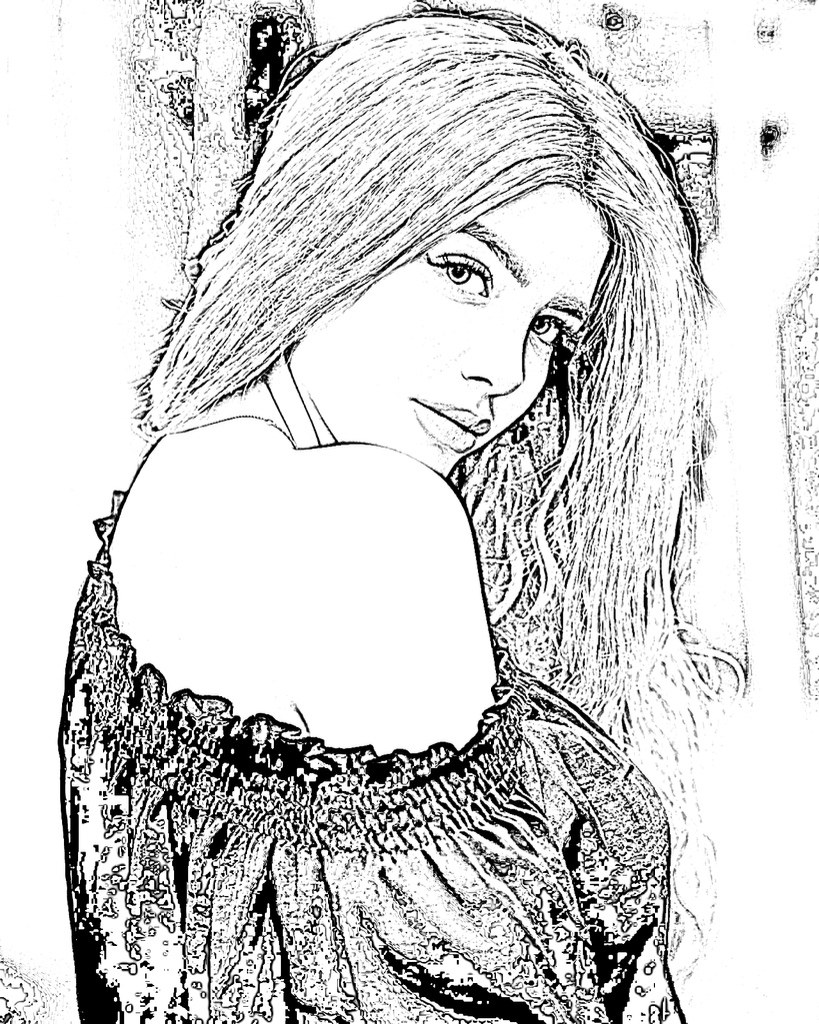
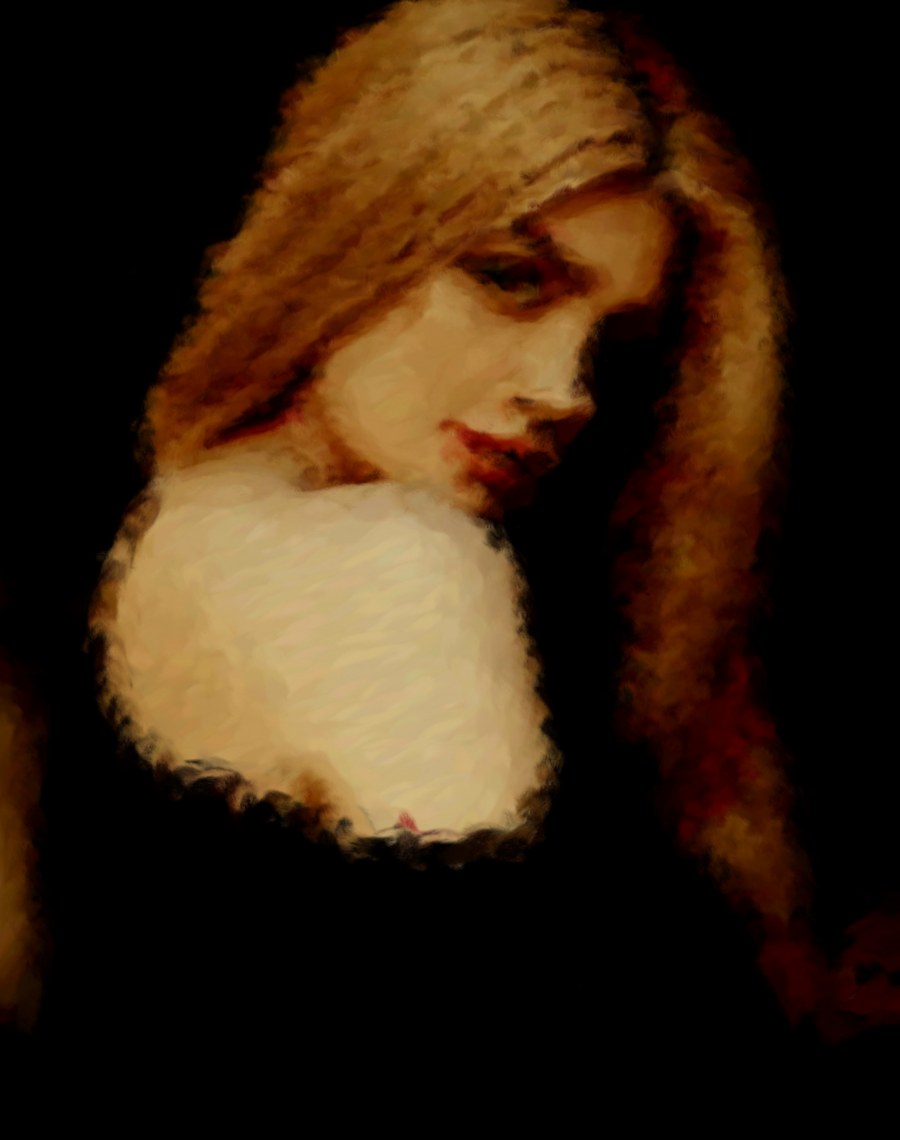
The painted study shows the Pad’s oil brushes mixing and layering: its strokes were laid down automatically from the relit photograph. Photographs are free stock images (Unsplash License). The studio’s output is shown as it comes out.
The same sitter.
Five lights.
Pick a master in the studio and the lamp goes where that painter put it: the direction, the height and the colour of the light. Or pick a light type, the Candle or the Inferno, and place it yourself. Each diagram shows the lamp from above and from the side, so you can set the same up on your own photo.
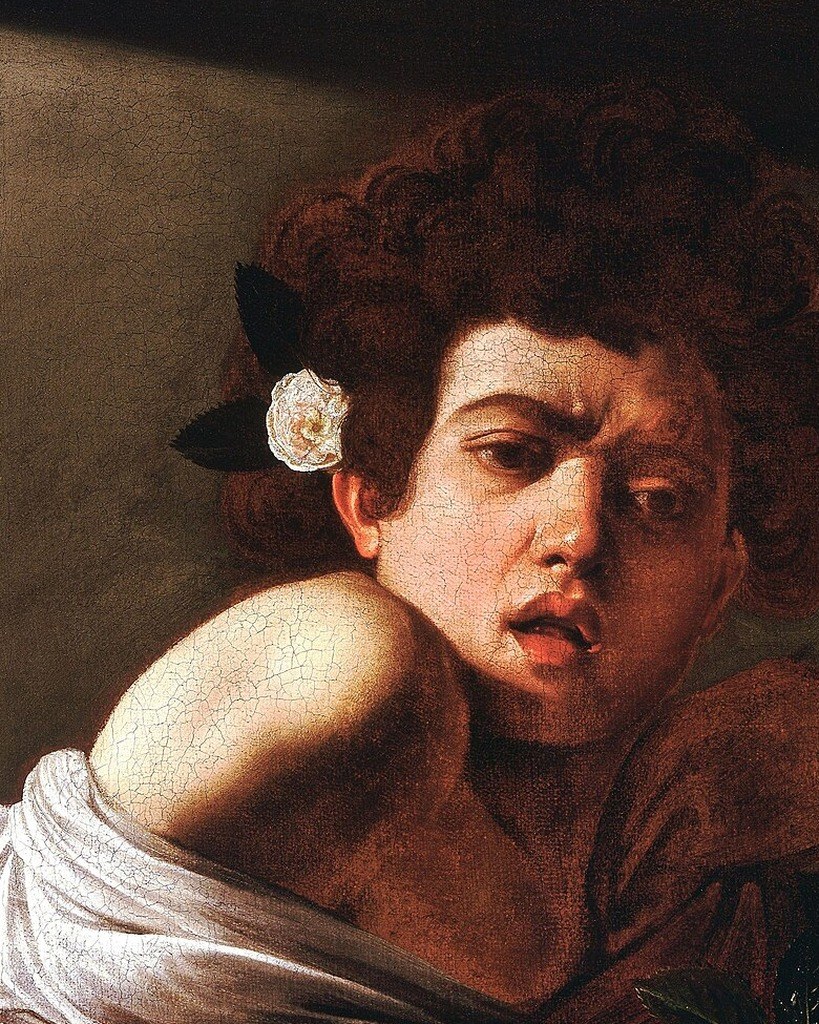
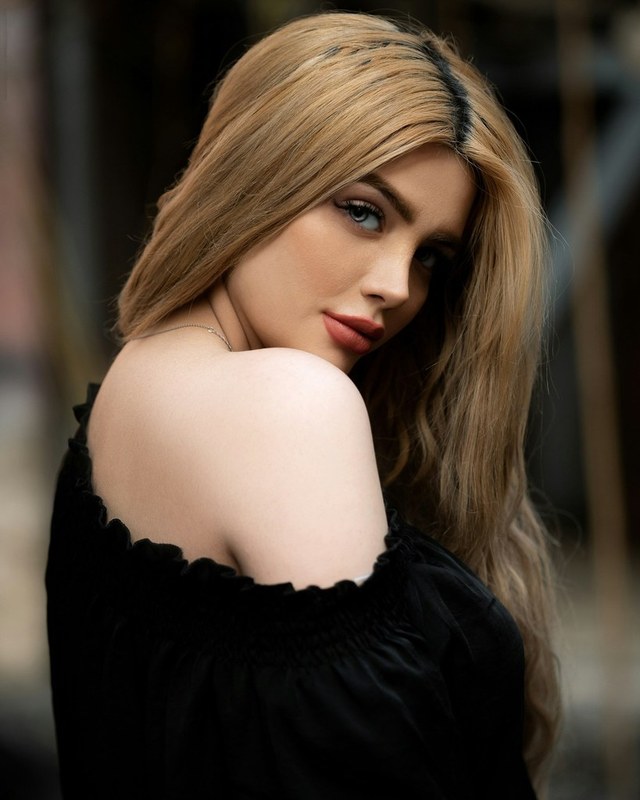
On the left, a real Caravaggio (Boy Bitten by a Lizard, National Gallery, London; public domain). On the right, a stock photograph of a woman looking back over her bare shoulder, posed the same way, lit with the studio’s Candle light from the same side. The light comes from the upper left, the shoulder and cheek take the highlight, the shadow falls to the right, and what the flame does not reach goes dark.
The set-up, so you can copy it: Candle light · az 33° (left) · el 19° (above) · distance 0.35 · focus 0% · strength 1.50 · colour #ff8a28 · Total darkness on · Tenebrism 100%.
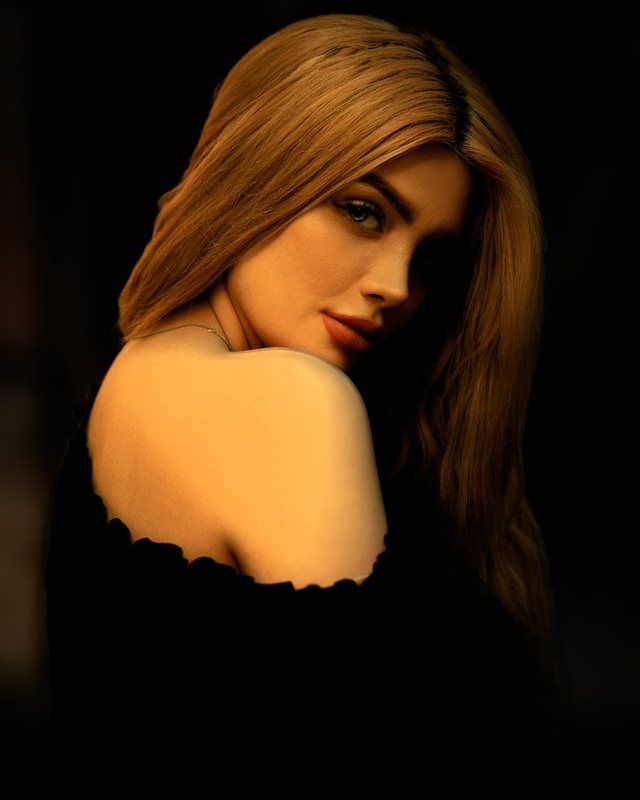
Warm key lamp, 42° to the left and 30° above. One source, so the far side of the face falls away into the dark.
The Candle light, 33° to the left and 19° above, close and with no spread: a warm shoulder and cheek, everything beyond the flame in the dark.
The Inferno light, 310° (to the right) and level with the shoulder: a deep red fire that runs from orange to blue-purple across the hair and cheek.
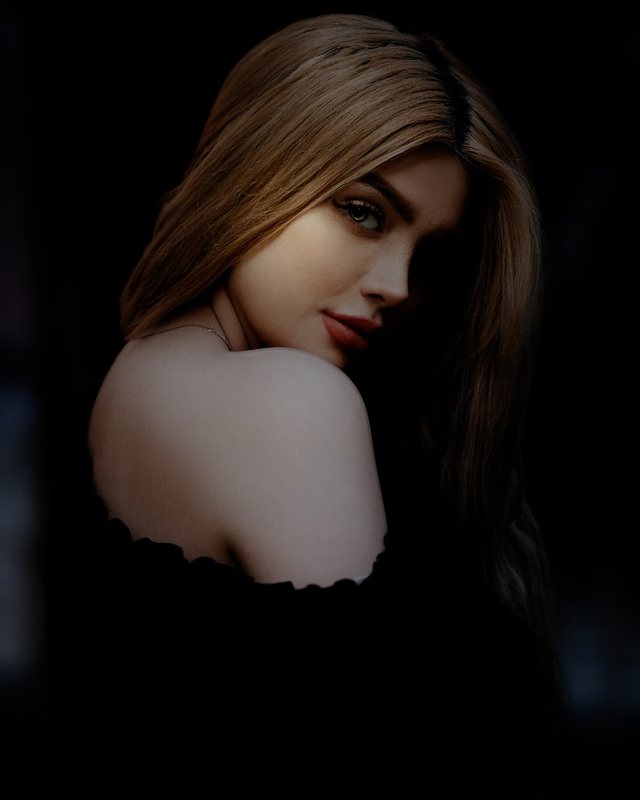
Soft, almost front-on light (10° left, 40° above) with a pale fill behind. Smoke-soft edges, no hard shadow.
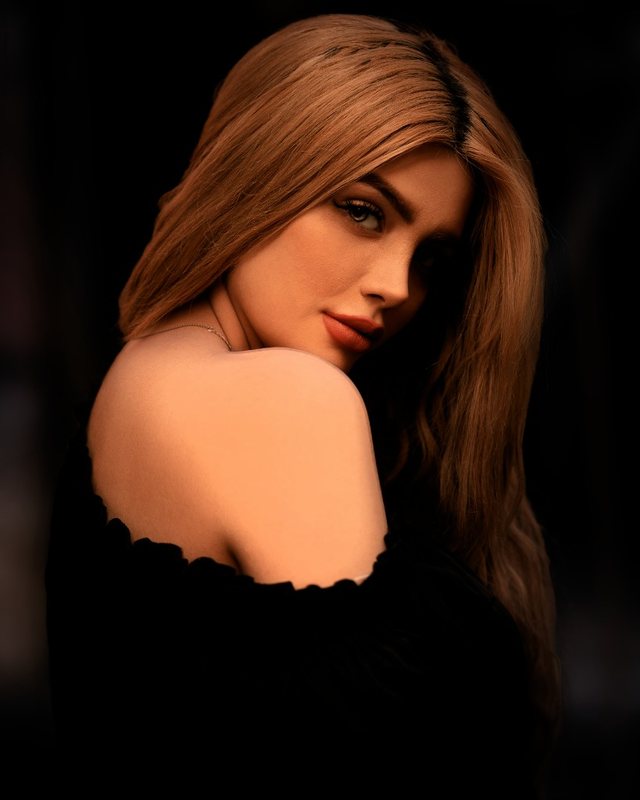
Warm key from nearly the front (5° left, 25° above) and a small deep-red kick from behind.
Rembrandt, Da Vinci and Kahlo use the studio’s own master rigs; on Rembrandt and Kahlo the beam is widened a little so the light covers a whole face instead of a spot. The Candle and the Inferno are light types: their exact settings are printed under each picture in the section above.
Upload. Relight. Transform. Learn.
Four steps from a regular photo to a master painting study.
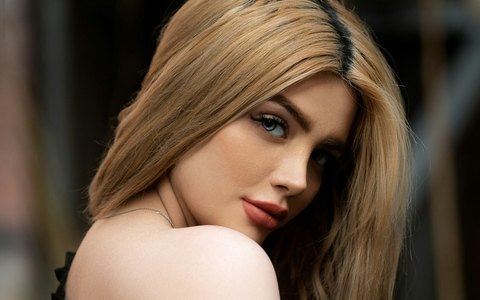
Upload Any Portrait
Drop in any photo. Colour, black and white, selfie, professional headshot, or even a drawing. VOLUX works with everything.
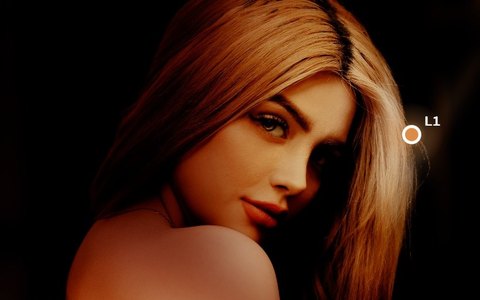
Relight in 3D
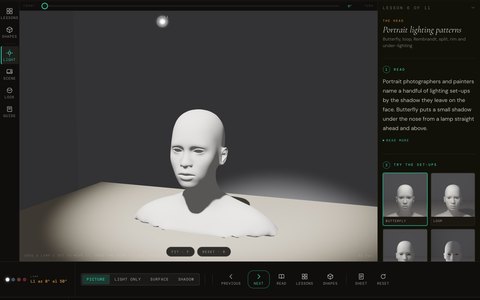
Our normal-map engine detects the 3D shape of the face. Move lights around in real time. See exactly how light falls on real geometry.
Apply a Master Style
Click any master artist. Our AI analyses the photo and applies their exact technique — palette, lighting, texture, atmosphere. Your face stays. The art transforms it.
Learn Why It Works
Every style comes with a deep-dive lesson. Understand the palette, the lighting setup, the colour temperature. Then paint it yourself on canvas using VOLUX as your guide.
Not a filter app. A professional tool
built for artists who want to understand light.
VOLUX uses the same maths as film VFX studios. Normal-mapped relighting. Lambertian diffuse. Blinn-Phong specular. ACES tonemapping. Running in your browser.
V.Create — AI Image Generator
Describe what you want and the AI generates it in any master style. Then relight the result with the 3D engine. The full creative pipeline — prompt to final artwork — in one tool.
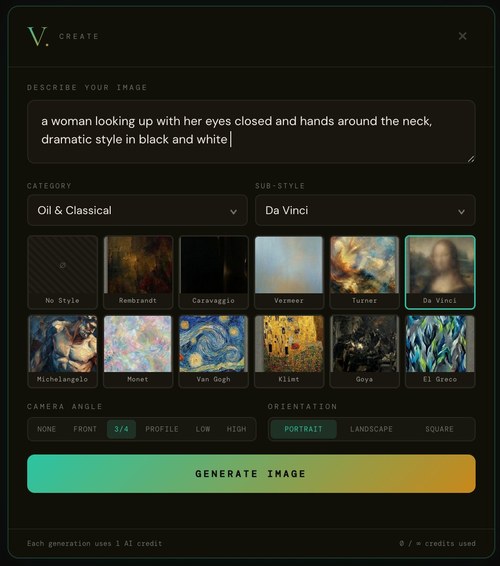
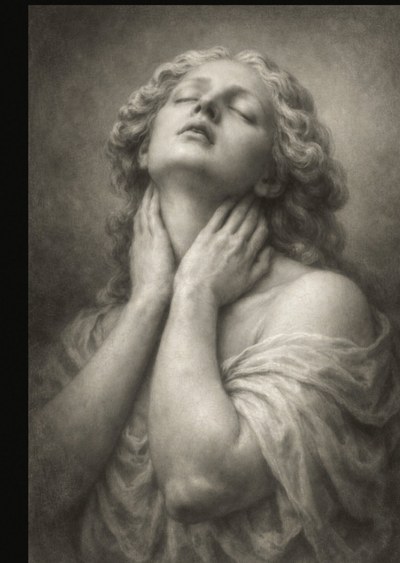
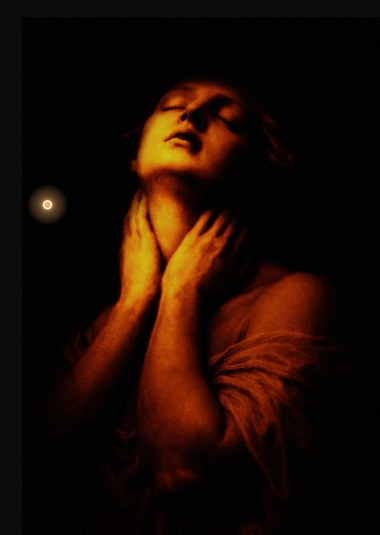
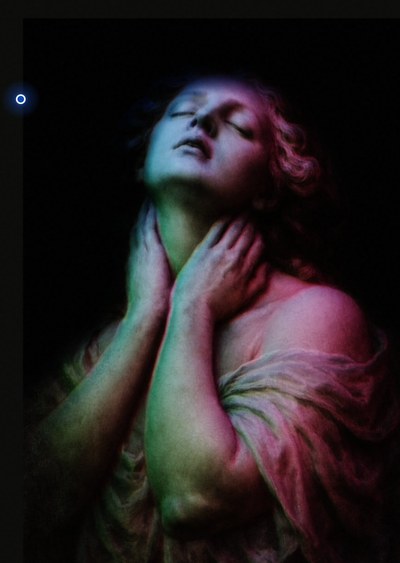
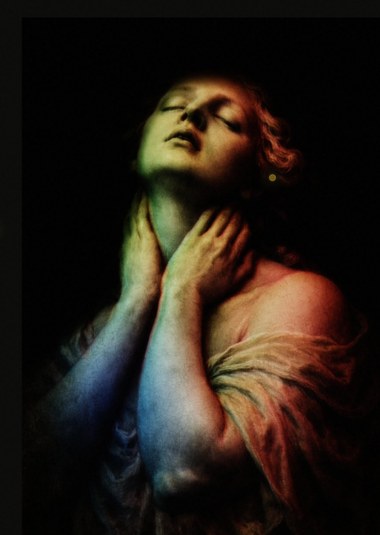
- Text prompt + style = new artwork in seconds
- 8 categories, 97 sub-styles across all genres
- Camera angle presets: Front, 3/4, Profile, Low, High
- AI result feeds directly into the relighting engine
- Portrait, landscape, or square orientation
- Each generation uses 1 AI render credit
3D Relighting Engine
Upload any image and VOLUX computes a 3D normal map. Then it simulates real light physics on that surface. Move lights and watch shadows, highlights, and rim light respond in real time. 12 mood presets give you instant cinematic setups. Total Darkness mode starts from pure black — only your lights reveal the image.
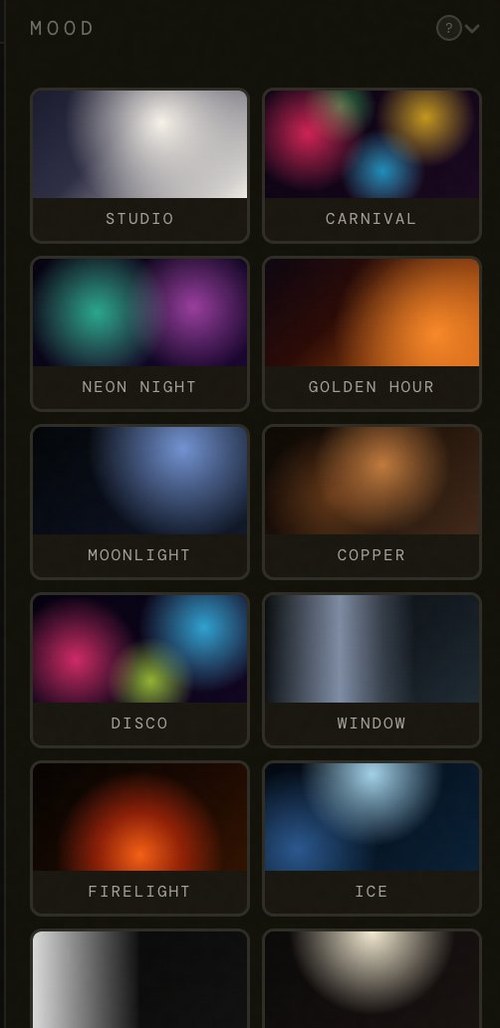
- 12 presets: Studio, Carnival, Neon Night, Golden Hour, Moonlight, Copper, Disco, Window, Firelight, Ice, Split, Butterfly
- Up to 3 coloured key lights with hemisphere pad
- Full colour picker — warm amber, cool blue, neon pink
- Total Darkness tenebrism — Caravaggio mode
- Gobo shadows, overlays, film grain
- Full grading: saturation, fade, split tone, vignette
- Before/after split comparison
- Works on photos, AI renders, paintings, drawings
Gobo shadows, in colour
A gobo is a pattern the light shines through, the way sun comes through blinds, leaves or lace. Project one through any lamp, then colour that lamp: gold through blinds, green through leaves, cool blue through a window frame. The pattern lands on the face and follows the surface.
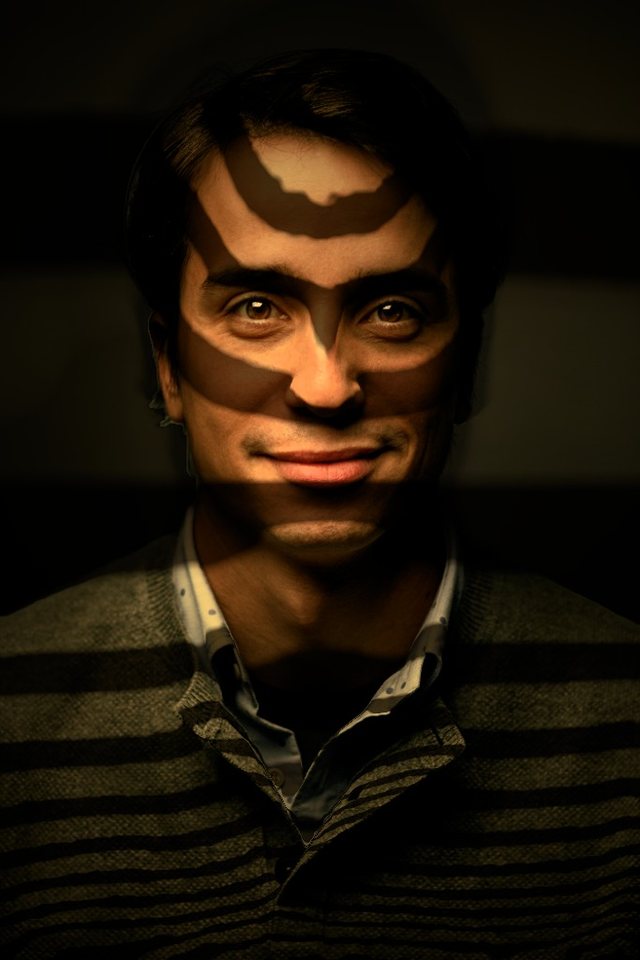
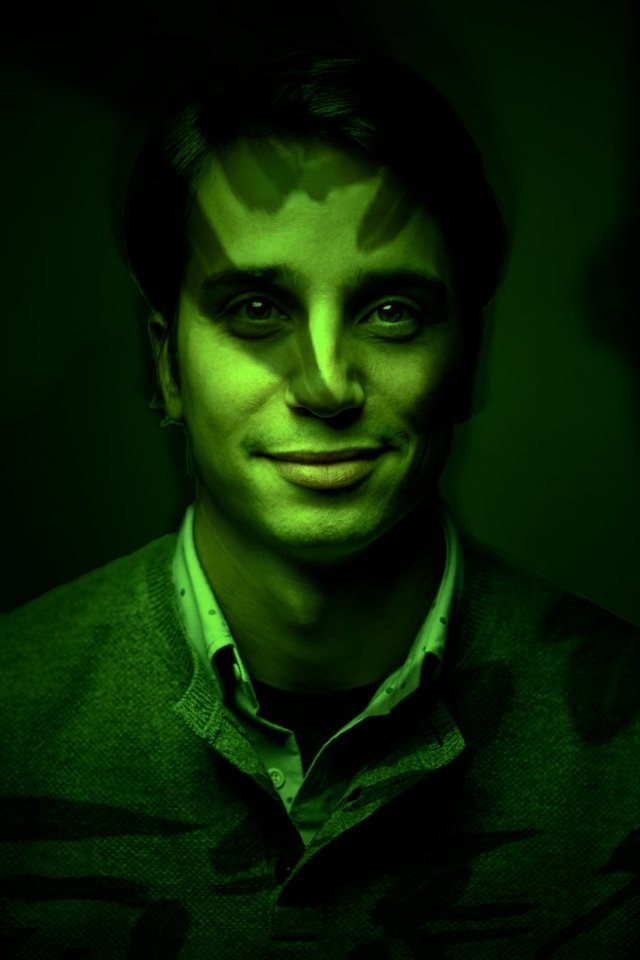
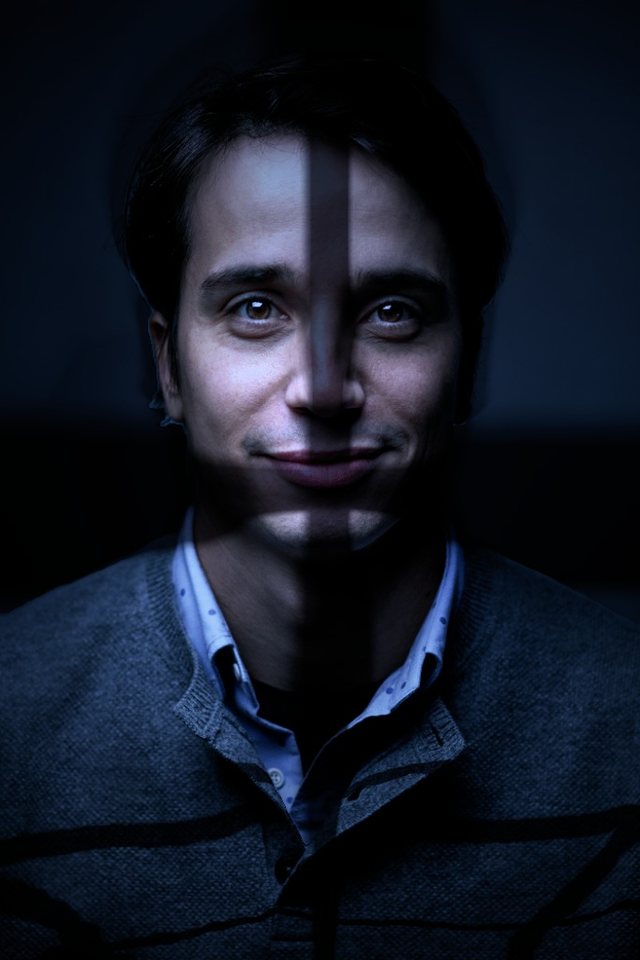
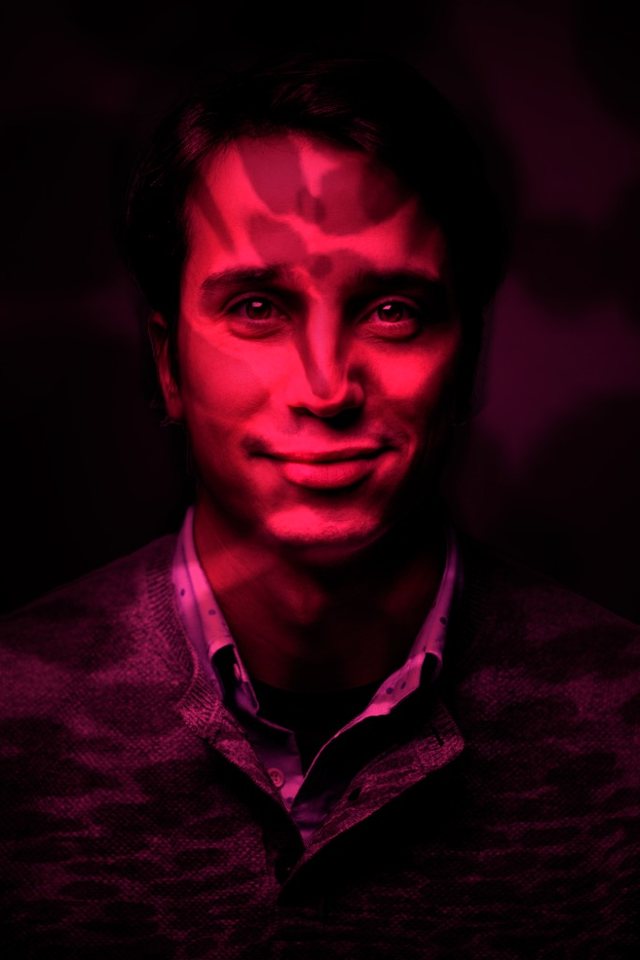
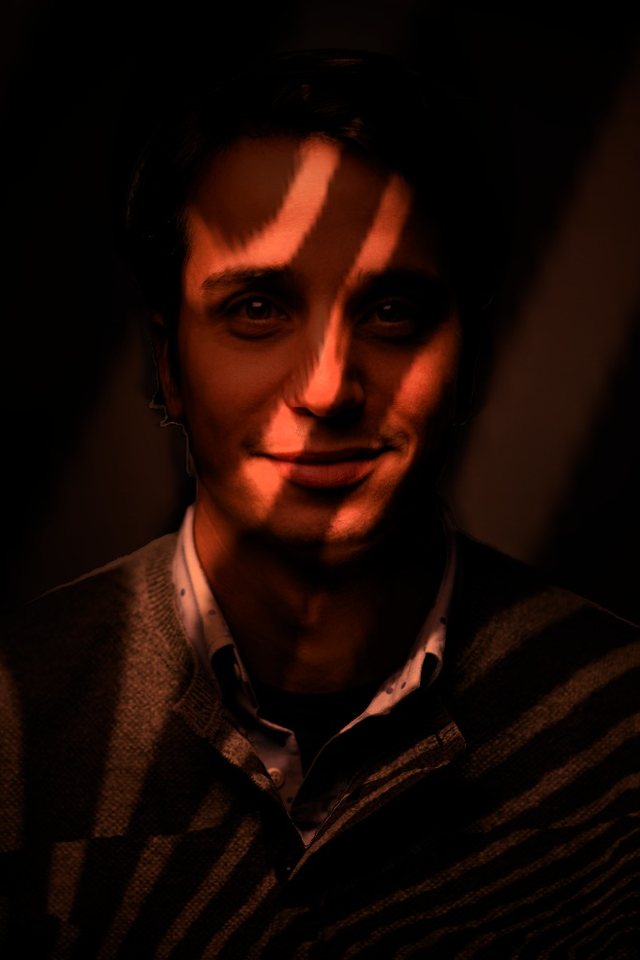
- Forty shadow patterns: blinds, window frames, leaves, lace, noir slats, stars, bars, branches and more
- Colour any lamp with the swatches or the colour picker
- Upload your own picture as a gobo, and invert it
- Opacity and threshold controls for hard or soft pattern edges
- Works with the moods and with the masters’ lamp rigs
Ask VOLUX — the studio assistant
Not sure what to do next? Open Ask VOLUX with the button at the bottom right of the studio and type a question about lighting, styles, tattoo workflows or how to get the best result. It opens beside your picture, so you can try the answer straight away.
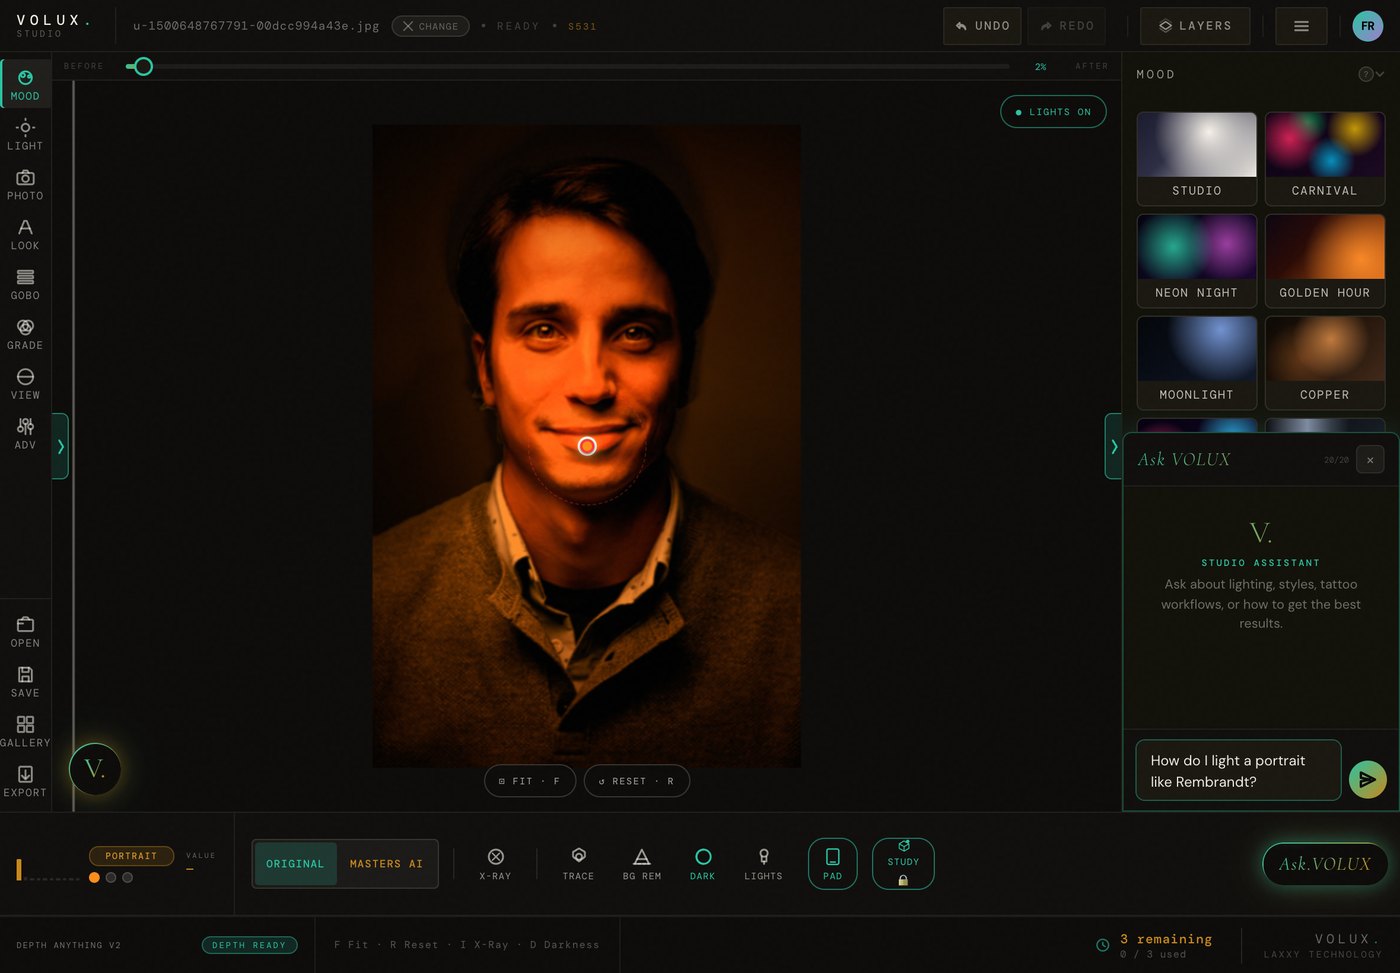
- Ask in plain words: “How do I light a portrait like Rembrandt?”
- Questions about lights, moods, master styles and the Trace stencil
- It stays in the right-hand panel, with your picture in view
15 Master Artist Styles
Each style is a forensically accurate recreation of a master's technique. The AI applies authentic painting textures while preserving your identity. Three render modes: Accurate (face-locked), Balanced (artistic with similarity), and Reimagine (full creative freedom).

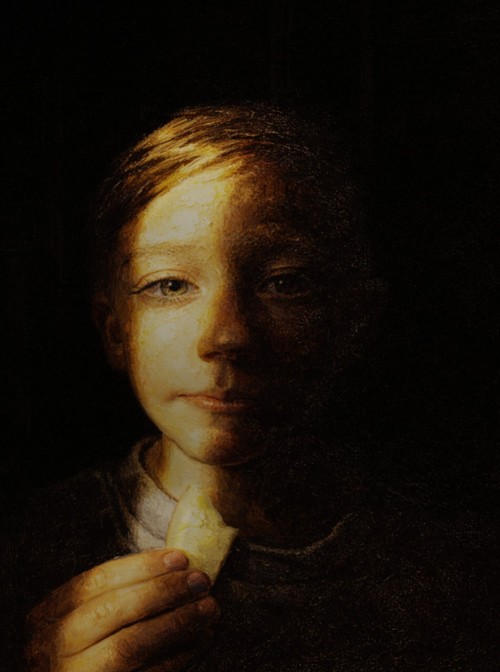
- 6 Old Masters: Rembrandt, Caravaggio, Vermeer, Turner, Da Vinci, Michelangelo
- 3 Fantasy: Frazetta, Boris Vallejo, Frida Kahlo
- 4 Comics: Alex Ross, Jim Lee, McFarlane, Dave McKean
- 2 Street: Basquiat, Banksy
- Face stays pixel-perfect in Accurate mode
- History gallery saves every render
Trace — Stencil Engine
Convert any image into a precise line drawing. Used by tattoo artists for thermal transfer paper, by painters as an underpainting guide, and by carvers for pattern transfer.
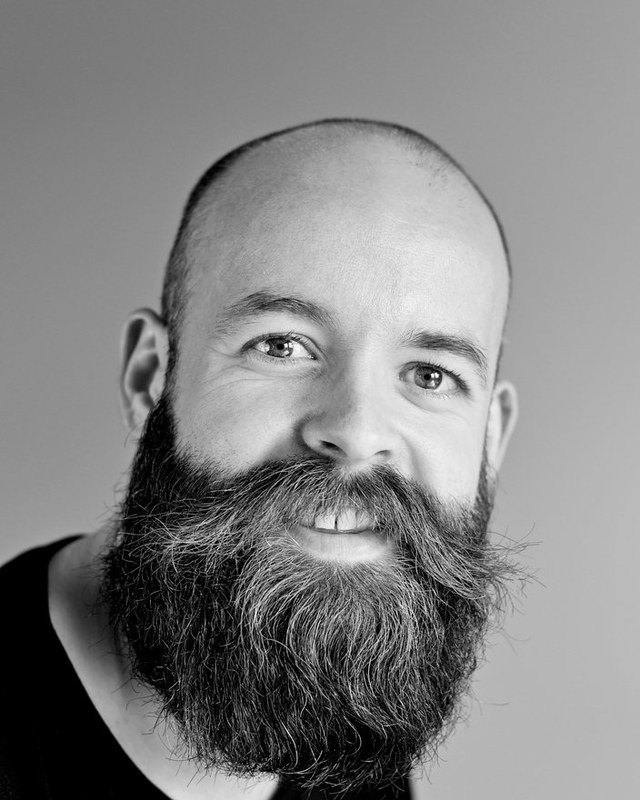
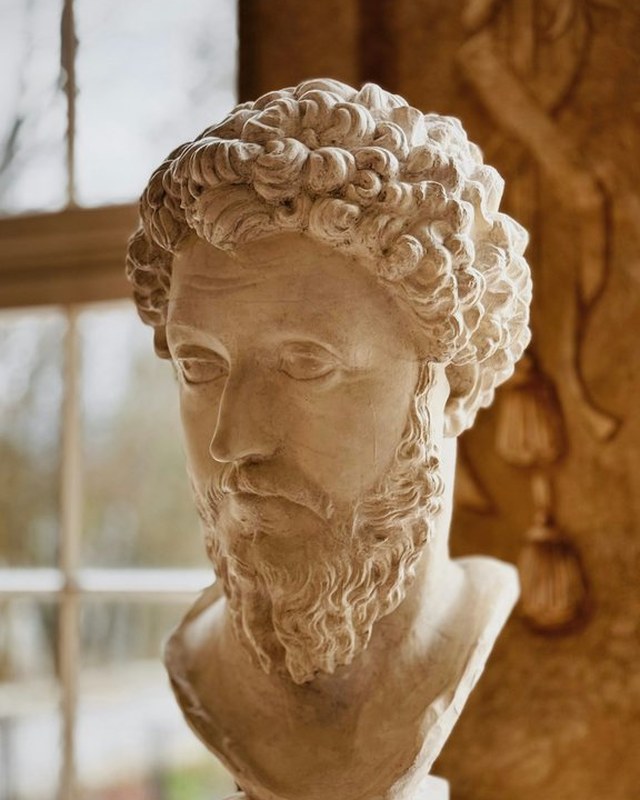
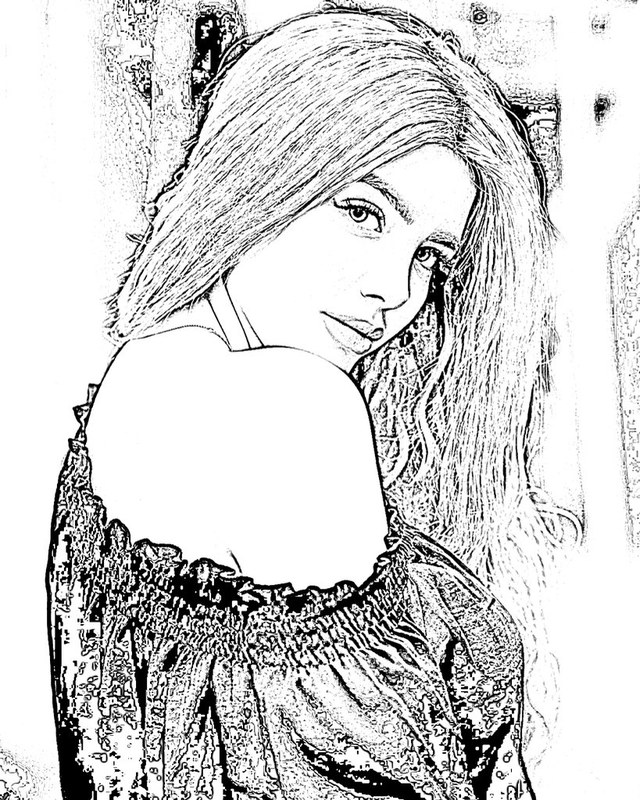
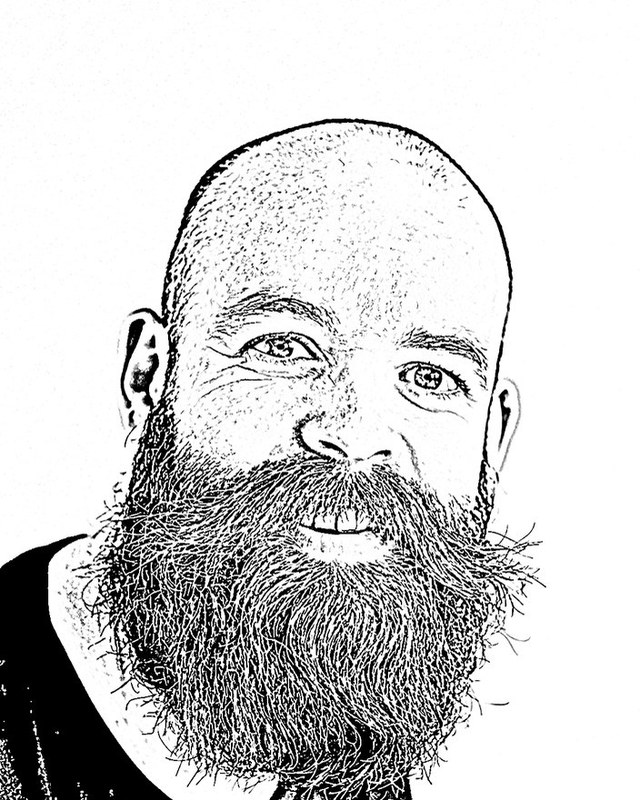
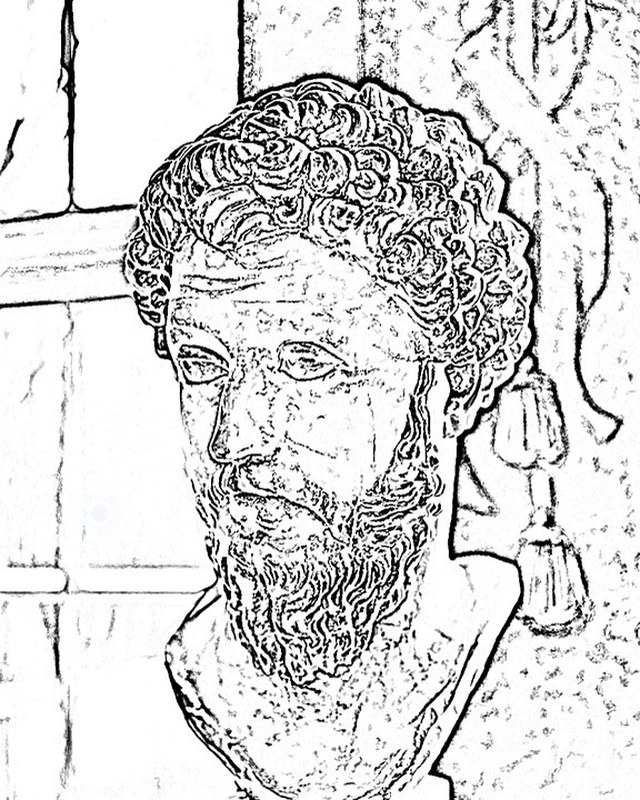
- Stencil mode: clean black lines with variable weight
- Contour mode: smooth tonal mapping for realism
- Outline mode: simplified bold contours
- 5 sliders: Detail, Intensity, Shading, Clean, Smooth
- Save as PNG, add as layer, transparent background
- Works on portraits, sculptures, flash art, references
VOLUX Pad — Paint it yourself
The Pad is a painting page for the iPad and Apple Pencil. Open any picture from your Gallery, the relit render, the stencil or the original, and paint on it with oil, acrylic, gouache and watercolour brushes that carry the names used in the Academy’s tutorials. Paint mixes like paint: blue and yellow make green, wet oil smears and blends, acrylic sets after a minute.
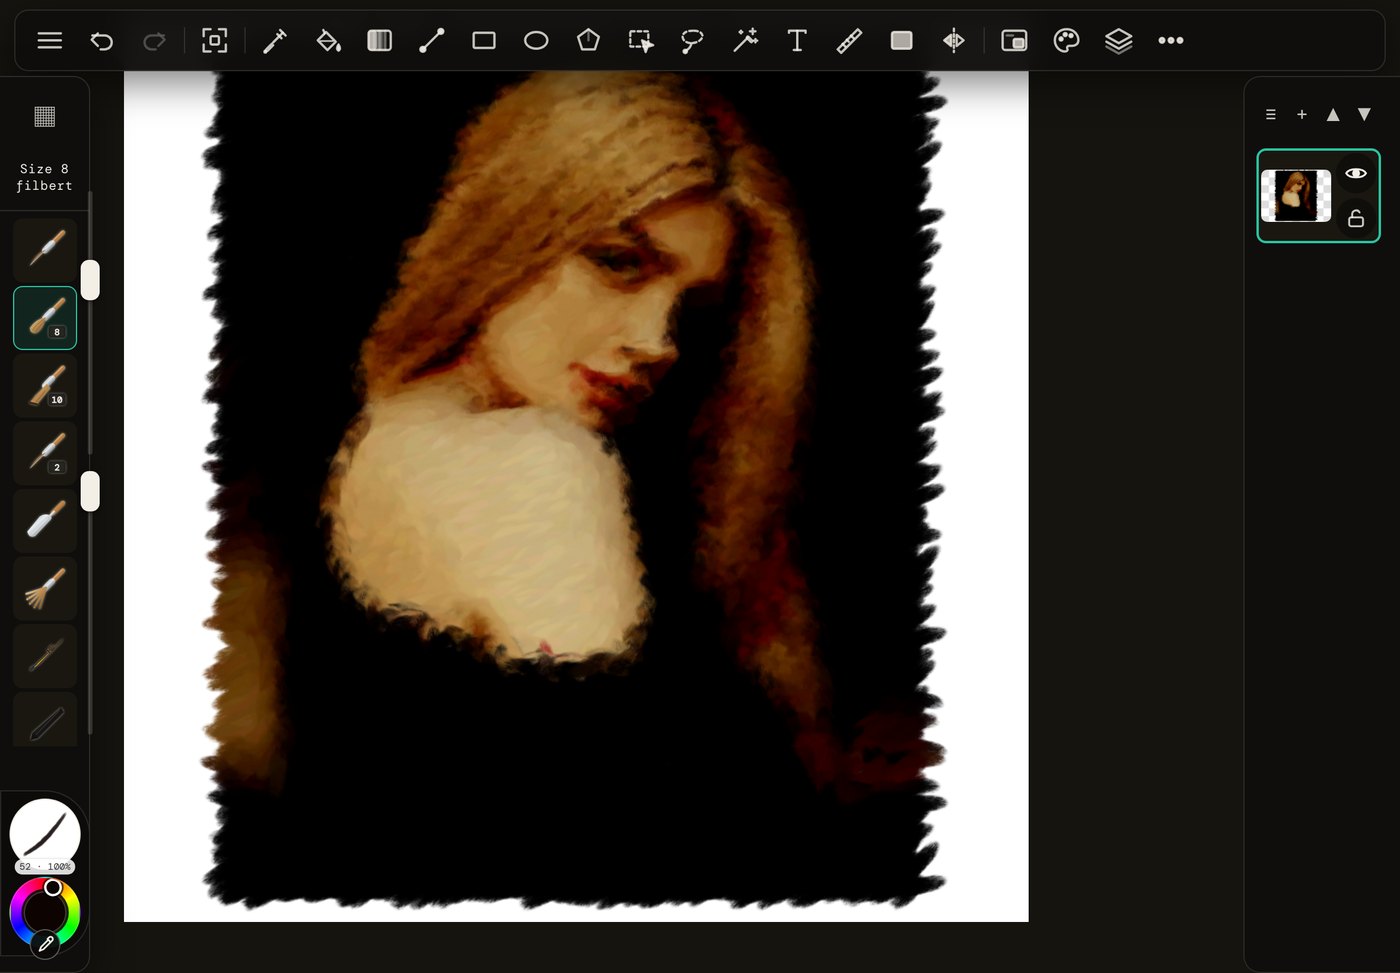
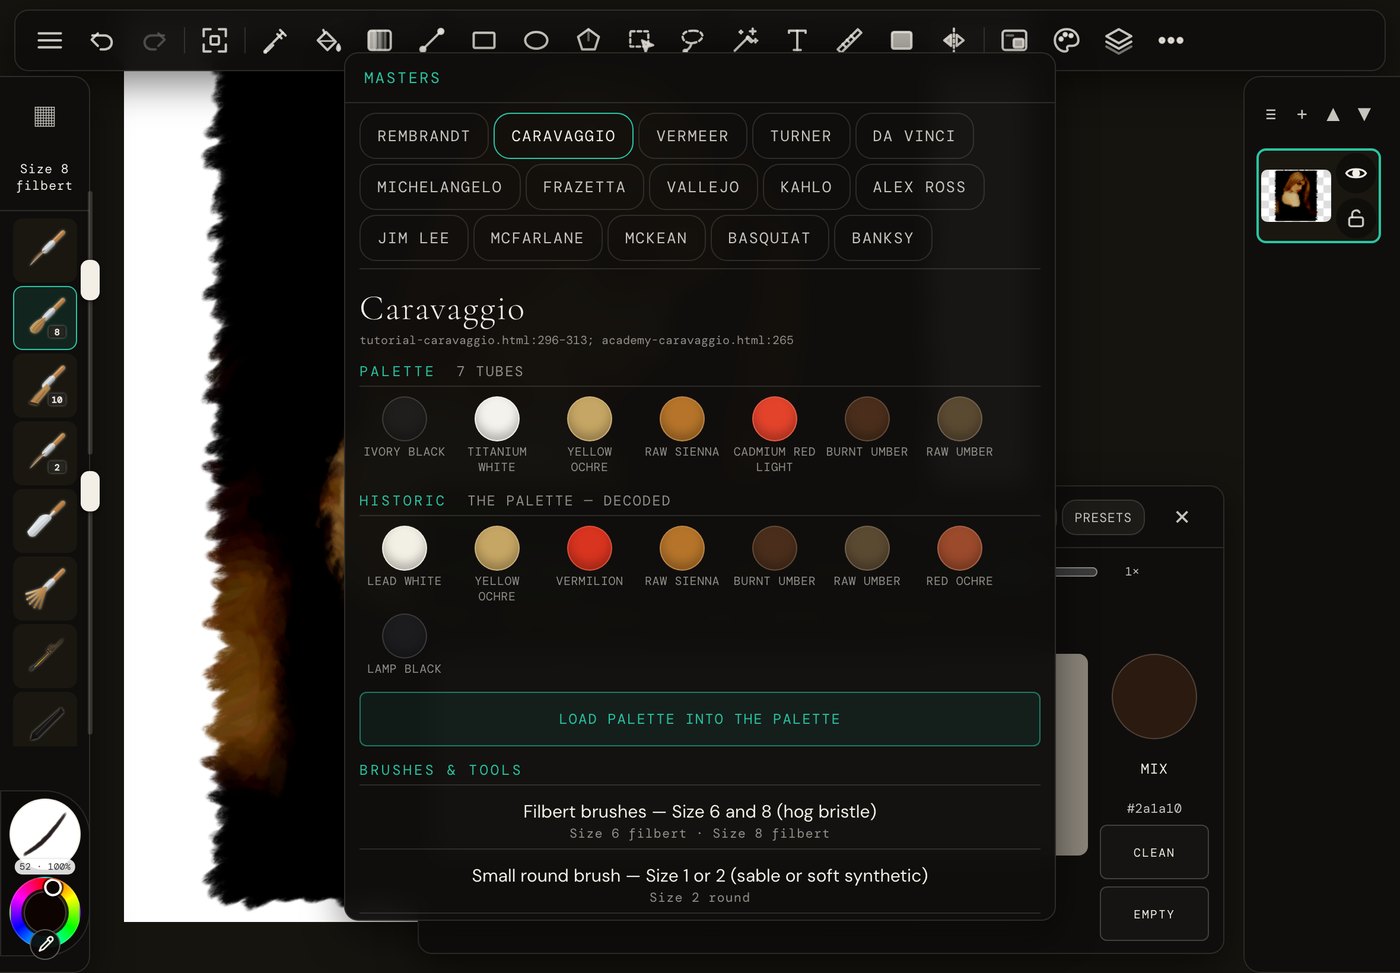
- A palette with a mixing pad: squeeze tubes onto it and mix them with the Pencil, as on a real palette
- Load a master’s own palette: Caravaggio’s, Rembrandt’s, Vermeer’s and more, with their brushes and tools listed
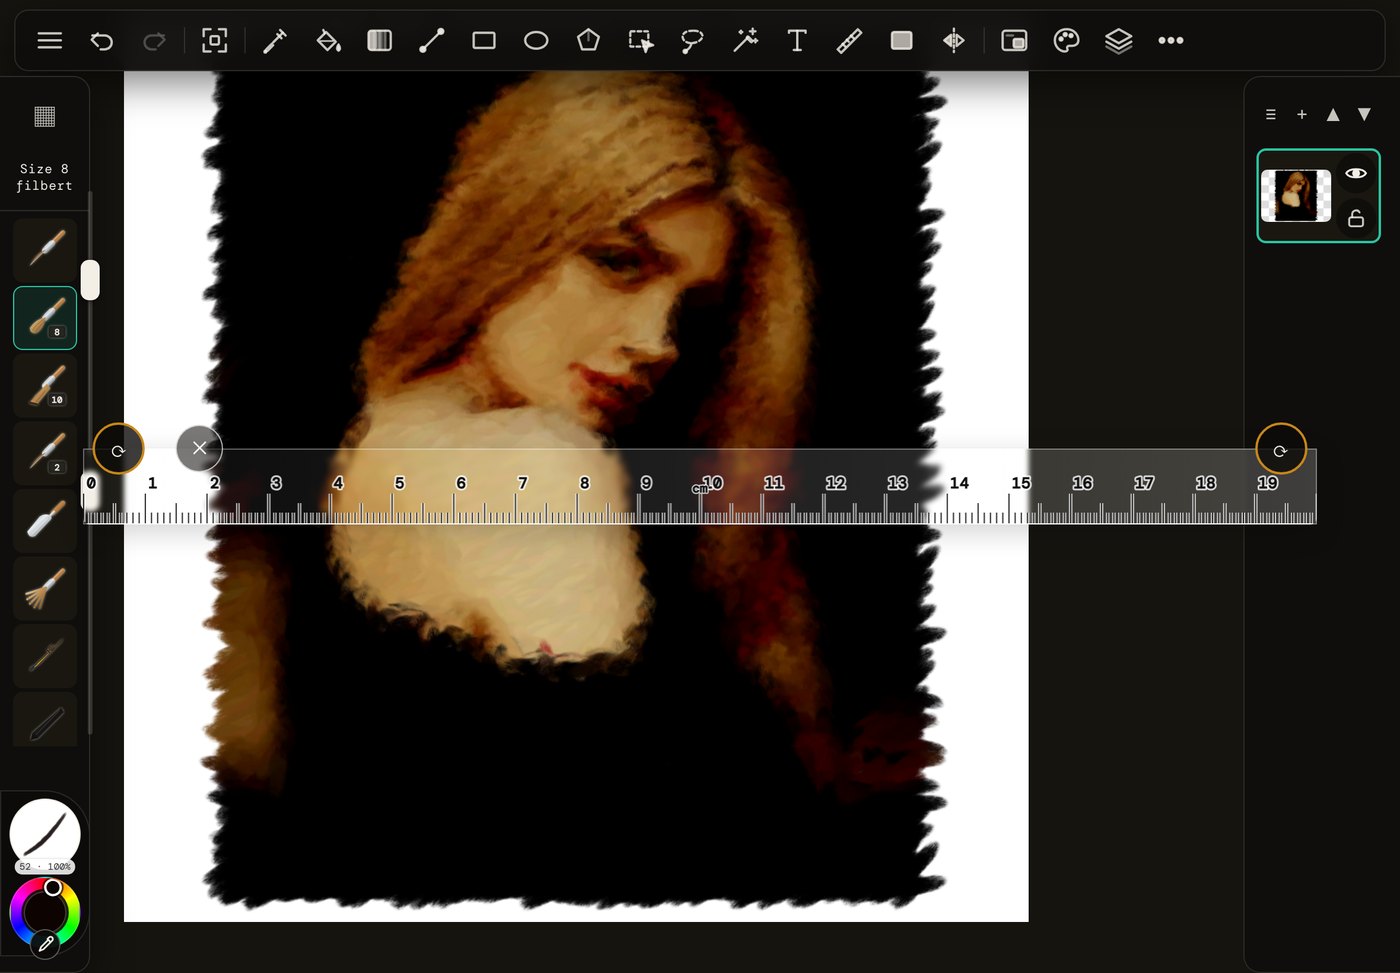
- A real-world ruler in centimetres, at true size, so a physical ruler laid on the iPad lines up with it
- Made for Apple Pencil, with pressure on every stroke; oil, acrylic, gouache and watercolour stay wet for different lengths of time
- Hands, card, rag, blending stump and squeegee smudge wet or dry paint
- Layers, selection, fills, gradients, shapes, text, rulers and symmetry; a reference window keeps a picture beside your painting; paintings save back to your Gallery
Complete Art Academy
This isn't a tool with a tutorial. It's an education platform with a tool. Foundation modules teaching real painting and photography technique. Deep-dive pages for each of the 15 master artists. Study the masters, then paint them yourself.
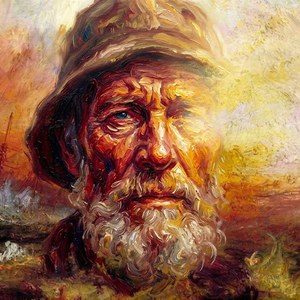
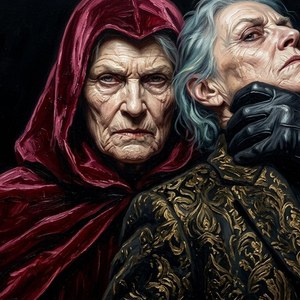
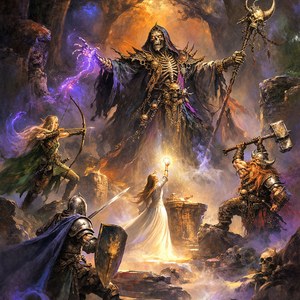
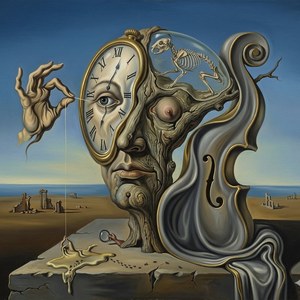
- Foundation modules covering the fundamentals of visual art
- Interactive exercises: recreate Rembrandt's light, then compare
- Learn colour theory by mixing actual colours, not reading about them
- Practice with your own photos — the best way to learn is by doing
- Full materials lists with brands and brush sizes
- New modules added regularly for Academy and Pro members
3D Light Study
Learn how light shows form by lighting it yourself. Eleven lessons, from the sphere to the portrait, each with a 3D room where you move up to four lamps around a real skull, a hand, a bust or a whole figure and watch the shadows answer. What painters and photographers know, in your hands.
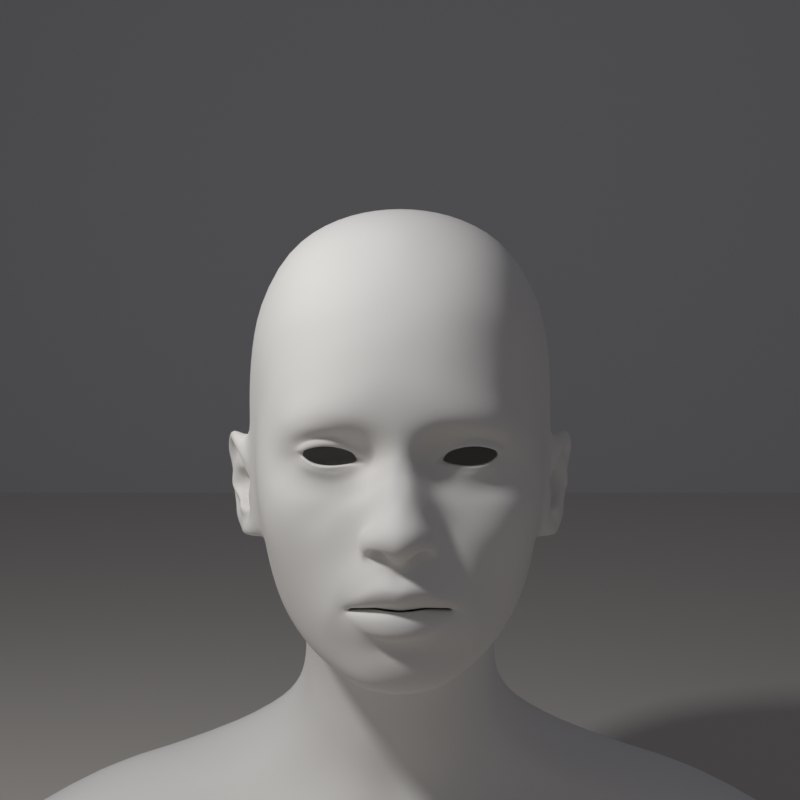
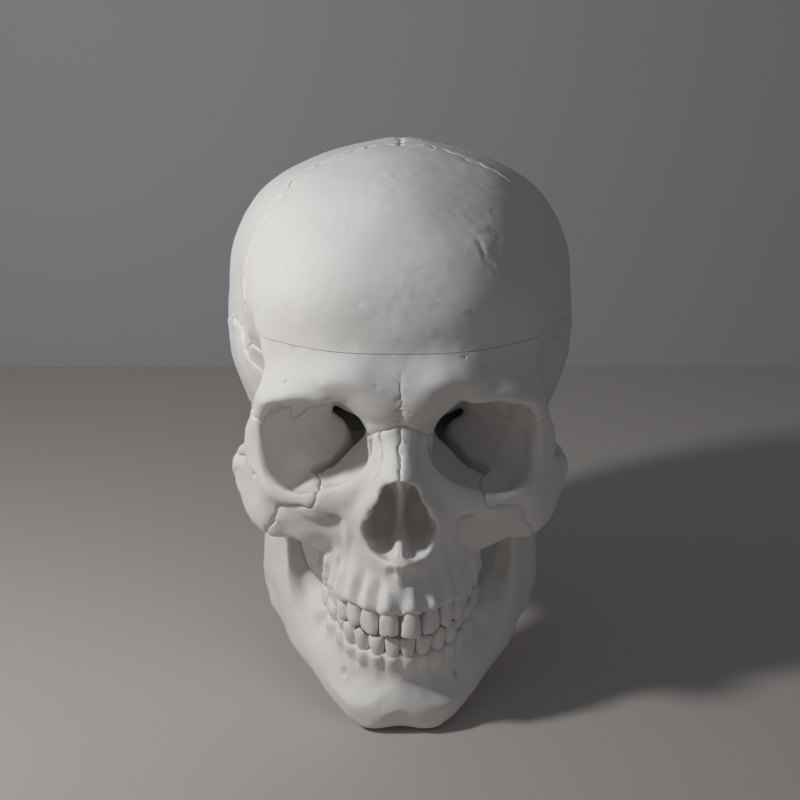
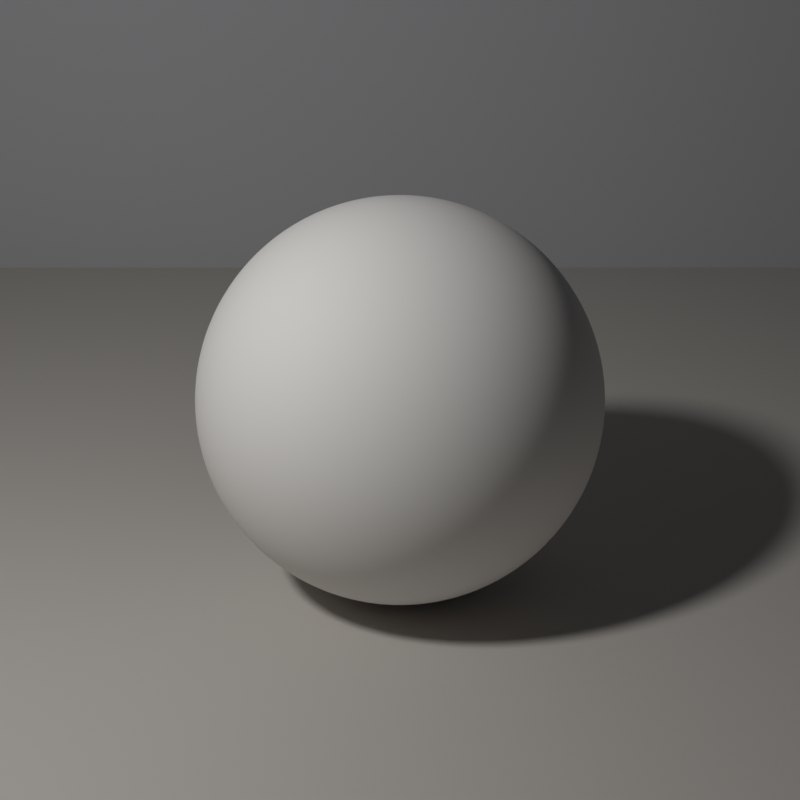
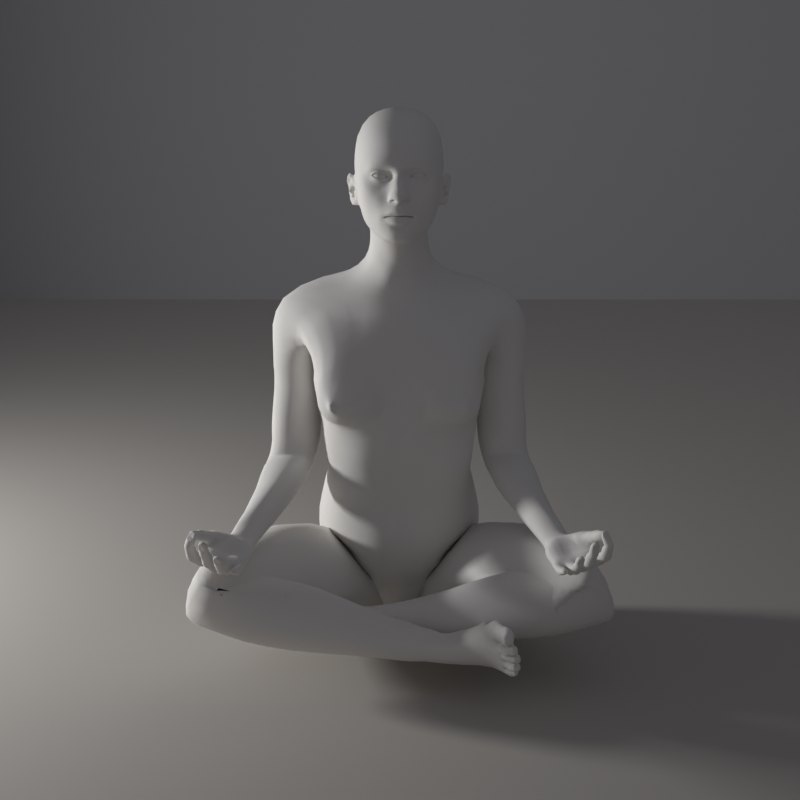
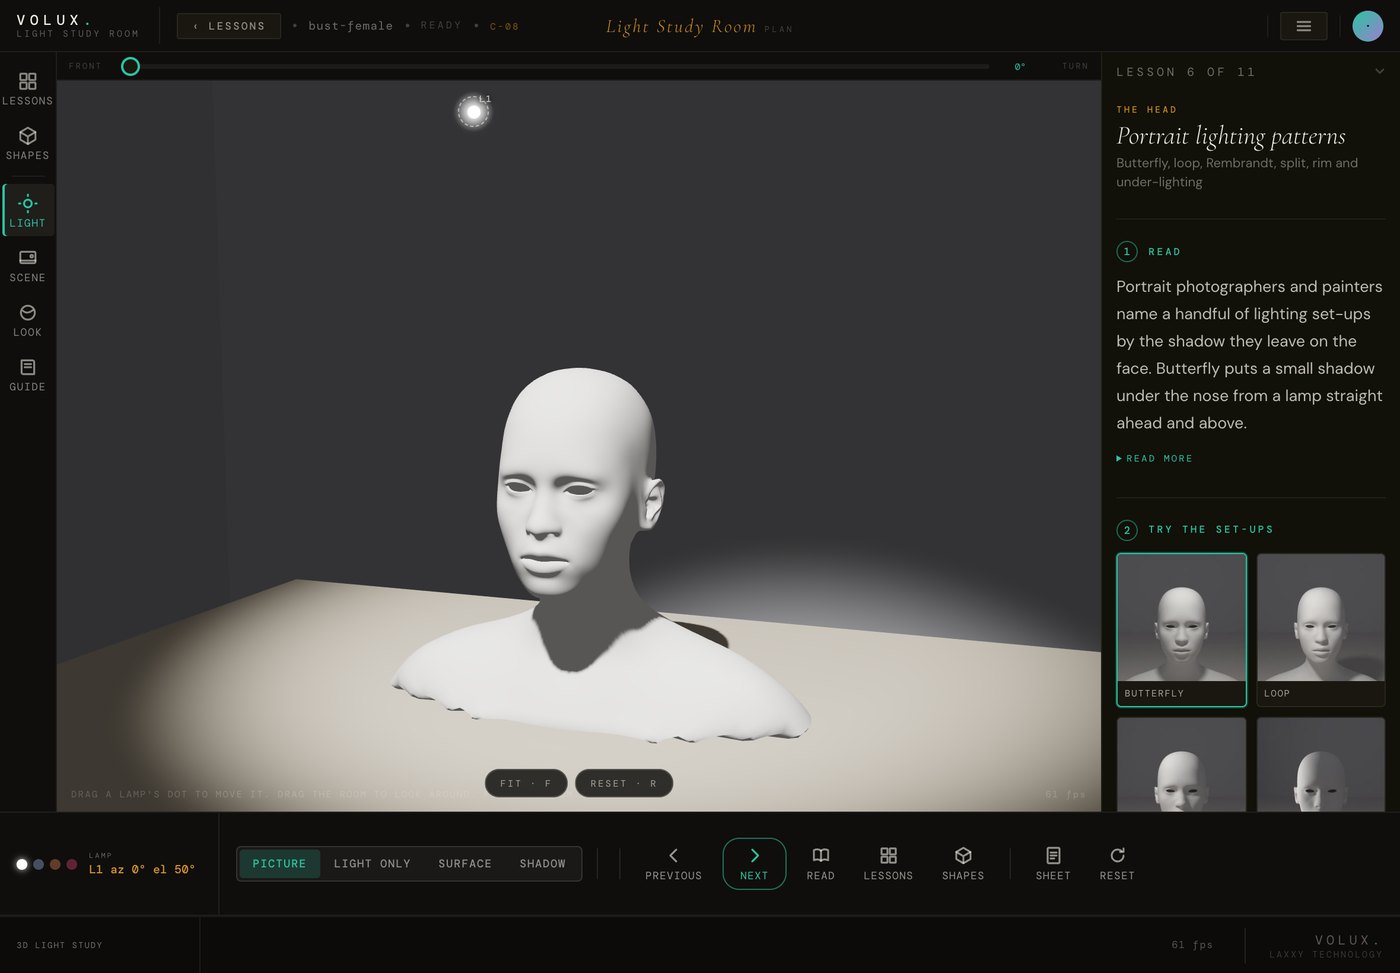
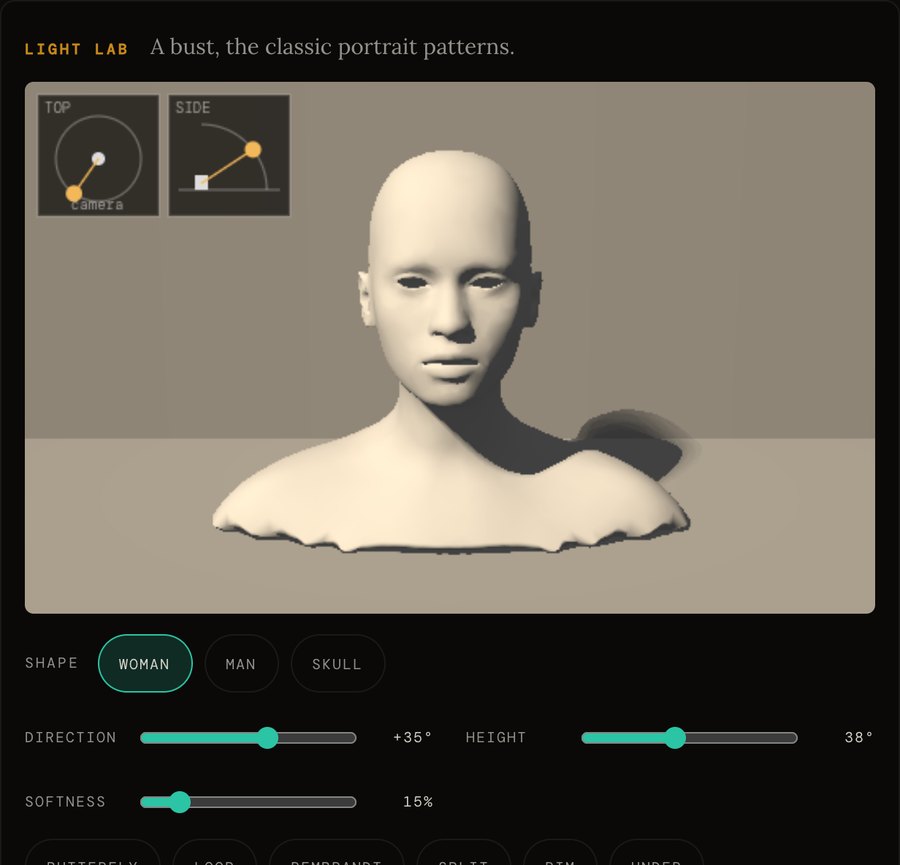
- 11 lessons: basic forms, the values of light, light direction, hard and soft light, cast shadows, portrait patterns, the planes of the head, hands and feet, the figure, colour, still life
- A 3D room with up to four lamps: drag a lamp round the object, change colour, distance and shadow softness
- 59 shapes: fruit, vessels, a real human skull, hands, a foot, busts and 42 figure poses, male and female
- Four views: picture, light only, surface and shadow, in plaster, clay, bronze or marble
- Opens from the studio: the Study button, then Academy lessons. It is a separate classroom, so your studio work stays untouched
- Included with Academy and Pro
Track your progress
Every lesson, reading and tutorial is split into sections, and you mark each one done as you finish it. A page counts as done when all its sections are. Your progress is saved to your account, so you can start on the iPad and carry on from your laptop.
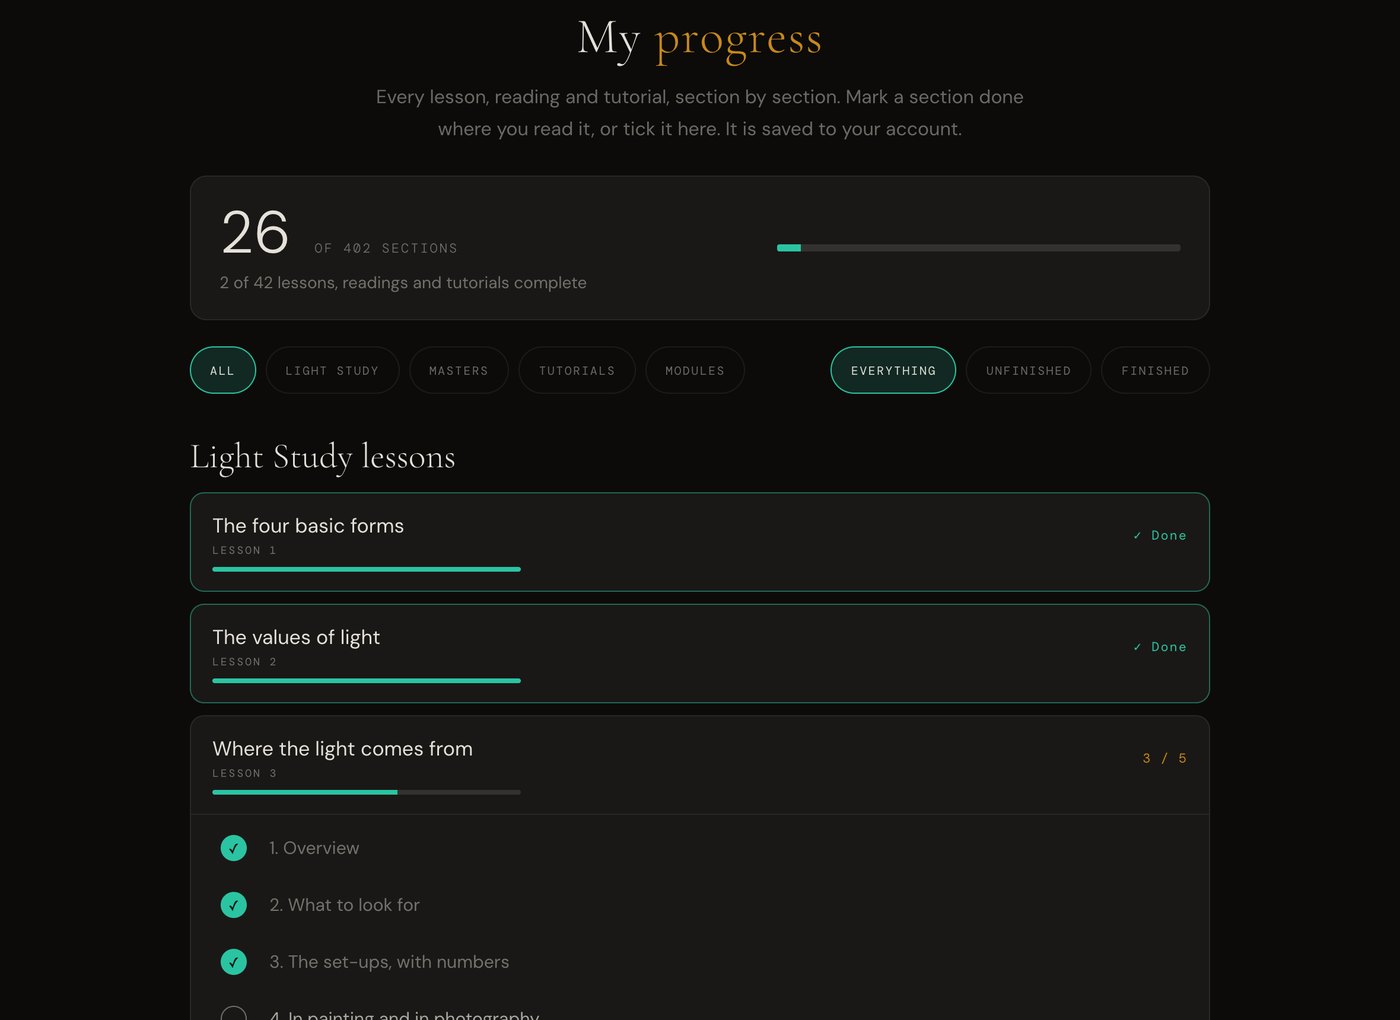
- Mark each section done, in lessons, readings, painting tutorials and modules
- Cards show “3 of 12”, and “Done” when every section is finished
- Saved to your account: it follows you to every device
- Resume where you left off from the home page, straight to your next unfinished section
- My progress is in the menu, with filters for unfinished and finished
15 artists. 4 categories. 500 years of technique.
Each style is built from real study of the original master's methods. Not a filter. A forensically accurate recreation of how they saw and painted light.
MORE ARTISTS COMING — Photography Masters, Digital Concept, Impressionists
Every master comes with a complete study.
Click any master in the academy and get everything you need to understand, study, and recreate their technique with your own hands.
Full Biography
Where they trained. What influenced them. How they changed art forever.
Famous Works Analysis
5-8 key paintings with breakdowns. Where the light comes from. What palette they used. Why the composition works.
Signature Technique
What makes them instantly recognizable. The specific method explained so you could teach it to someone else.
Light Setup Diagram
Interactive breakdown of their lighting. Recreate it with the VOLUX relight engine on your own photo.
Materials & Tools
Oil on canvas. Fresco on wet plaster. Charcoal. Spray paint. Each master's specific medium and what to buy.
AI Style Transform
One click. Your photo in their style. The fastest way to understand what makes each master unique.
Artist Quotes
Their own words about art, light, colour, and creativity. Inspiration directly from the masters.
Practice Exercises
"Where does the strongest light hit?" Questions that train your eye to see what masters saw.
Two tracks. Theory and practice.
Just like a real art school.
The Foundation track teaches you to SEE like an artist. The Practice track teaches you to PAINT like the masters. Both use your own photos and the VOLUX studio as your canvas.
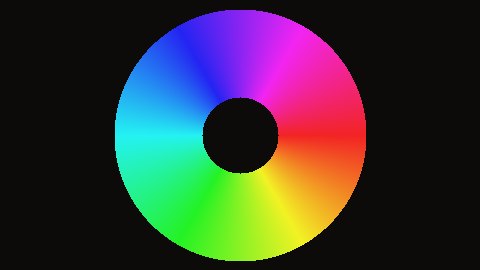
Colour Theory
Why complementary colours vibrate. Why analogous palettes feel calm. How to mix any skin tone from 5 pigments. Warm vs cool. What "mud" is and how to avoid it.
Light & Shadow
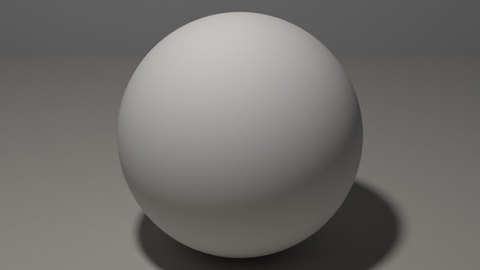
Key light, fill, rim, ambient. Why shadows have colour. The 5 zones of a lit sphere. Rembrandt's triangle. Caravaggio's drama. Butterfly lighting for beauty.
Value & Contrast
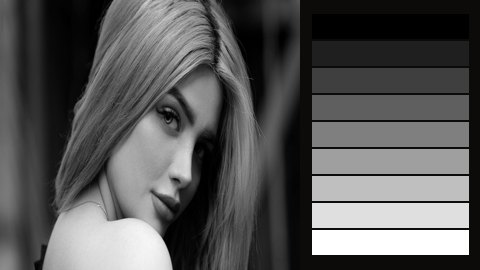
Perfect colour with wrong values looks flat. The 9-step value scale. The squinting test. Notan studies. Why 70/30 dark-to-light creates drama.
Temperature
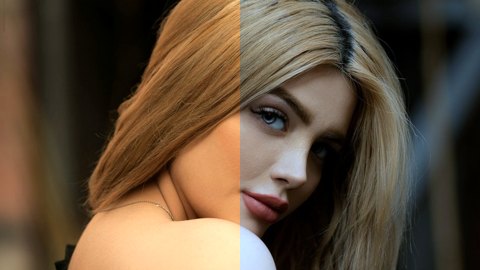
Warm light creates cool shadows. This one principle separates amateur from professional. Why flesh in shadow looks purple-blue. How temperature creates depth.
Composition
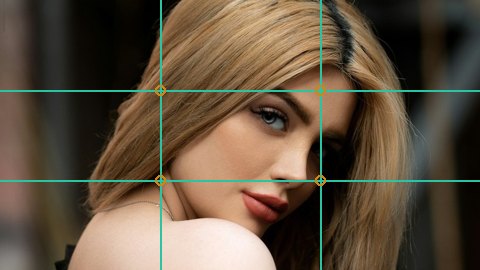
Rule of thirds creates balance. Golden ratio creates flow. Leading lines guide attention. How the masters controlled where you look first, second, and last.
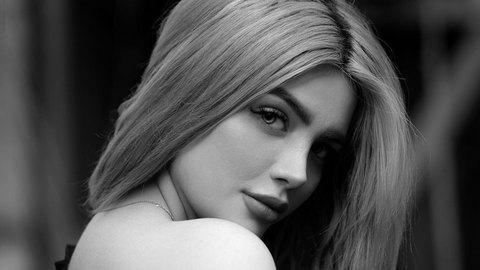
Black & White
Remove colour and you see value. Charcoal techniques. Grisaille underpainting. Why removing colour makes you a better colourist.
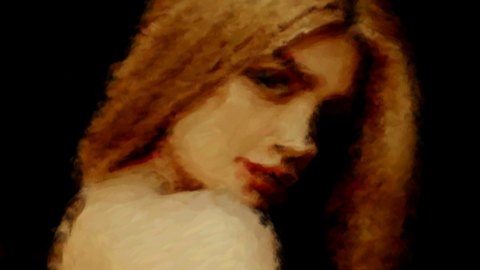
Oil Painting Basics
Underpainting creates structure. Glazing creates luminosity. Impasto creates texture. Fat over lean. Why understanding oil makes better digital work.
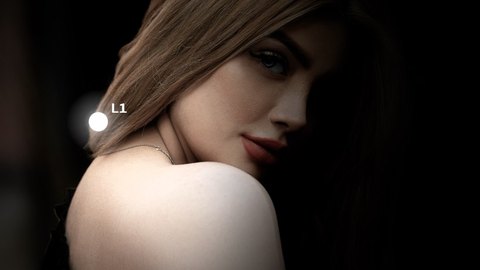
Portrait Lighting
Butterfly. Loop. Rembrandt. Split. Broad vs short. Set them up in VOLUX, understand the mood each creates, then take it to a real photoshoot.
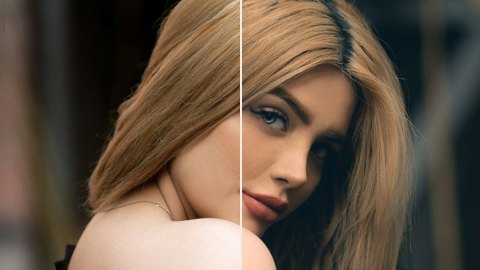
Colour Grading
What a LUT is. Split toning. Film emulation: why Portra looks dreamy and Velvia looks punchy. How Hollywood colourists shape mood with colour.
Step-by-step painting tutorials. Real brushes. Real paint. Real canvas. Fifteen complete painting walkthroughs, from blank surface to finished portrait. Use VOLUX as your reference, then paint it for real. Each tutorial ends with a buy-the-kit list, and the Materials page holds all fifteen.
Paint Like Rembrandt
Oil on pre-stretched canvas. A step-by-step session with a materials checklist and a buy-the-kit list for this painting only.
Paint Like Caravaggio
Oil on pre-stretched canvas. A step-by-step session with a materials checklist and a buy-the-kit list for this painting only.
Paint Like Vermeer
Oil on smooth canvas or linen panel. A step-by-step session with a materials checklist and a buy-the-kit list for this painting only.
Paint Like Turner
Oil on canvas. A step-by-step session with a materials checklist and a buy-the-kit list for this painting only.
Paint Like Da Vinci
Oil on smooth panel or fine linen. A step-by-step session with a materials checklist and a buy-the-kit list for this painting only.
Paint Like Michelangelo
Oil on fine canvas. A step-by-step session with a materials checklist and a buy-the-kit list for this painting only.
Paint Like Frazetta
Oil on masonite board (hardboard). A step-by-step session with a materials checklist and a buy-the-kit list for this painting only.
Paint Like Vallejo
Oil on smooth hardboard (masonite). A step-by-step session with a materials checklist and a buy-the-kit list for this painting only.
Paint Like Kahlo
Oil on smooth masonite or small canvas. A step-by-step session with a materials checklist and a buy-the-kit list for this painting only.
Paint Like Alex Ross
Gouache on illustration board. A step-by-step session with a materials checklist and a buy-the-kit list for this painting only.
Paint Like Jim Lee
Ink and pen on bristol board. A step-by-step session with a materials checklist and a buy-the-kit list for this painting only.
Paint Like McFarlane
Ink and pen on bristol board. A step-by-step session with a materials checklist and a buy-the-kit list for this painting only.
Paint Like McKean
Mixed media on heavy mixed-media paper or board. A step-by-step session with a materials checklist and a buy-the-kit list for this painting only.
Paint Like Basquiat
Mixed media on large canvas or found surface. A step-by-step session with a materials checklist and a buy-the-kit list for this painting only.
Paint Like Banksy
Stencil and spray on any flat surface. A step-by-step session with a materials checklist and a buy-the-kit list for this painting only.
Paint it. Post it. Tag us.
Finished a VOLUX tutorial? Post it and tag @volux.io with #PaintedWithVOLUX. Student paintings are reposted here and on our Instagram, with credit.
Best student paintings featured monthly on our Instagram, website gallery, and newsletter.
In the era of AI, why learn
to paint at all?
Because AI generates images without understanding. It pattern-matches from data. It produces a face without knowing what a skull is. It renders light without understanding optics. It mimics Rembrandt without ever holding a brush.
A real Rembrandt in a museum has physical texture. The highlights are thick ridges of paint that catch gallery lighting. The shadows are thin and transparent, glowing from the warm ground underneath. No screen, no printer, no algorithm can replicate this. The painting exists in three dimensions. It changes depending on the angle you view it.
The artist who can create with their hands holds something irreplaceable. Not a skill becoming obsolete. A skill that becomes more valuable precisely because the machines cannot do it.
VOLUX Academy teaches you the techniques the masters used. Not a university degree that costs $40,000 and takes four years. Not an art school that teaches theory without practice. Real technique. Real pigments. Real brushes. Step by step. At your pace. For less than the cost of a single university textbook.
A complete art education. Not a filter app.
Every plan includes real teaching content. Here is exactly what is inside.
Seven days free. Then one plan a year.
Seven days free to try everything. After that, one yearly plan. AI master renders use credits — buy packs whenever you need more.
- ✓Full studio editor
- ✓All moods and lighting
- ✓Gobos, overlays, grading
- ✓Trace: line-art stencils from any photo
- ✓The Pad: paint on your pictures with Apple Pencil
- ✓Ask VOLUX assistant, 20 questions a day
- ✓3 AI render credits to try
- ✓Watermarked exports
- ✕No clean exports
- ✕No academy content
- ✕Ends after 7 days
- ✓Everything in the trial
- ✓15 master reading pages (Kindle-style)
- ✓15 step-by-step painting tutorials
- ✓3D Light Study — 11 lessons, a 3D room with four lamps and printable study sheets
- ✓15 AI master artist styles
- ✓Each master style sets that painter’s own lamp rig
- ✓Your progress saved to your account, section by section
- ✓Foundation modules — Colour Theory available now, eight more in development, included free as they ship
- ✓Interactive colour wheel tool
- ✓Full materials lists with brands
- ✓Q&A knowledge base per master
- ✓Clean exports, no watermark
- ✓40 AI renders a year
- ✕No early access to new artists
- ✓Everything in Academy
- ✓100 AI renders a year
- ✓Early access to new artists
- ✓New features first
- ✓Priority email support
- ✓Buy render packs anytime
- ✓All future tutorials & content
Masters and Lifetime only. Bigger packs = bigger savings. Credits never expire.
All prices in USD, billed yearly. Your renders reset at the start of each year and do not carry over — buy render packs any time you run out. Cancel before renewal to stop the next year. 7-day money-back guarantee.
Questions? Answers.
Ready to see light
like the masters did?
Start free. Relight your first portrait. See what 500 years of technique looks like on your own face.